
Yes, you read that right. There is a proper way to vacuum!
On the surface, vacuuming can seem like the simplest of house chores. You simply maneuver your vacuum cleaner in dusty, dingy places, right?
That’s where most of us get it wrong.
Many people complain about pain in the back and arms when vacuuming, assuming that it’s all part and parcel of the whole experience. But the pain is a sign that you’re not using your vacuum properly.
Quick back-and-forth motions also make vacuuming last longer than it should. Choosing the wrong attachment leaves behind more pollen, pet dander, dust, and other allergens in the air!
So, if you find that:
- Your socks become filthy quick from walking around the house
- You see visible dust lingering mid-air
- You see dark dust deposits at the base of your walls
- You can’t seem to get rid of that annoying soiled look in high-traffic areas
- Your allergies are triggered whenever you’re home
- You often get that dusty smell when you enter rooms
…then it’s time to brush up on your vacuuming techniques!
Of course, we all can benefit from some tried and tested vacuuming best practices. That’s why for this article, we’re going to list down FIVE of the best vacuuming tips from the experts at Sleekdwellings.com.
Ready for a cleaner, dust-free home? Let’s begin!
Vacuuming best practice #1: Prep before cleaning
Before anything, get all the clutter out of the way!
Put all of your dirty laundry in a hamper and take them out of the room. Organize your kids’ toys in their designated containers. Pick up all the trash littered on the floor. You get the picture.
The floor must be free of anything that will keep you from starting and stopping.
If you find that your carpets are starting to smell, dust a bit of baking soda all over them. Make sure to leave it for at least two to three hours, so it has a chance to soak up the muskiness and other foul odors.
For stubborn smells, if possible, leave the baking soda to soak overnight.
Vacuuming best practice #2: Manually dust all surfaces and curtains
Make sure to dust every nook and cranny before you start.
Check every windowsill, shelf, tabletop, and countertop and brush off all the accumulated dust. This ensures that you prevent any stray dust, pollen, or pet hair from falling on your floor after vacuuming.
We know it might sound like extra work, but it’s worth putting in the time and effort.
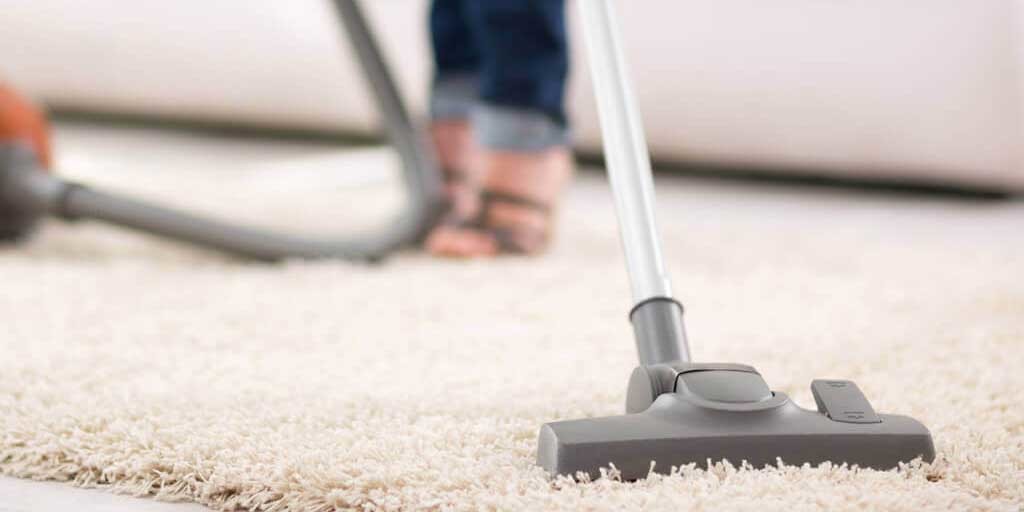
Vacuuming best practice #3: Choose the right vacuum cleaner and attachment for your home
For the uninitiated, using the wrong vacuum cleaner and/or attachment can make vacuuming harder than it has to be.
Lighter vacuums are cheaper, but they often lack the suction power to truly rid your carpets of pet dander, pollens, and dust. Heftier vacuums offer amazing suction but can also be too bulky, depending on how many floors your house has.
If you live in a single-story apartment, condo, or home with all-around carpeting, the practical, more powerful choice is always the bigger upright vacuum cleaners.
However, if you live in a multi-story place, chunky upright vacuums can make moving from one floor to the next a literal pain in the neck. In this case, canister vacuums are recommended.
To make the most out of your investment, always choose a vacuum cleaner with a genuine HEPA filter and an attached vacuum bag. This ensures that you’re not re-releasing dust into the air when you start cleaning it out.
As far as attachments are concerned, choose a motorized one with a designated agitator for carpeted surfaces. While noisy, it makes up for it by ensuring all the stubborn debris lodged deep into your carpets is loosened.
For hard floors, select the bare floor attachment for easier maneuvering. As for your staircase, the hose attachment can get better clean than the larger vacuum tools for your staircase.
To clean out accumulated debris in tight spots (such as under furniture, along baseboard edges, and around vents), use the crevice attachment — the skinny tool with an angled tip.
Vacuuming best practice #4: Attack one row at a time
To be more thorough and save energy while fluffing your carpets, start by going against the nap and slowly move in the direction of one wall to another — as if you’re going in a row. Pass each row twice to ensure you get everything before starting with the next.
Once you’re done vacuuming the entire room, start again. This time, go in the opposite direction. This ensures that you get everything you missed from your first vacuum session.
Vacuuming best practice #5: Push more, pull less
Vacuums work best when they are pushed harder than they are pulled. This is to ensure that you don’t leave any debris on the floor.
Go forward slowly, at twelve inches per second. Then pull slowly at six inches per second. This ensures that you give your vacuum more time to work properly since you’re working against your vacuum’s motor when you’re pulling it back.
And there you have it — the FIVE best vacuuming practices that turn a weekly chore into a breeze!
If you’re ready to say goodbye to aches and pains and say hello to a cleaner, dust-free home, then feel free to follow these FIVE tips.


