
One of the most momentous decisions that define the ambiance in a home or office is selecting the right flooring type. After all, this section comes in contact with much of the action on the property. While there’s carte blanche to choose flooring material based on aesthetic appeal, the practical side of things may dictate a different approach. However, one flooring option that strikes a balance between both ends of the spectrum is hardwood.
Not only are hardwood floors beautiful and timeless, but they are also practical. From vinyl to engineered, each type of hardwood flooring is unique in its construction. Coupled with a plethora of wood species, from the English Oak (dubbed the king of British hardwoods) to hickory, the design possibilities are endless. But what underpins everything else is its installation.
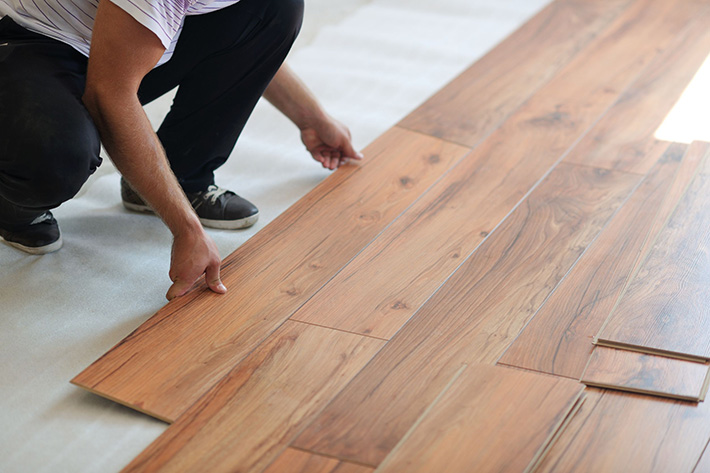
Hardwood floorboards are easy to install and may just take a day to complete. As such, no special tools are required.To understand how this works, let’s explore every trick in the book.
Solid Vs. Engineered Vs. Laminate Floorboards
The first decision to make is which type of hardwood to purchase. Solid hardwood is a lumber block of milled wood with grains that run through the entire piece. It’s made from wood species, like Maple, oak, Ash, Hickory, and American Cherry. It also mostly comes in a polyurethane finish. It’s easy to tell this by running a thumbnail slightly across the board. If it dents, there’s a high chance that it is solid hardwood.
Engineered wood looks similar to solid hardwood. However, it comprises layers of wood that have been “engineered” to create a single, sturdy piece. While a thin veneer of hardwood nestles at the top layer, the inner core is made of plywood. Engineered wood has an aluminum coating, which lessens its susceptibility to deterioration. It’s also slightly thinner than hardwood.
Laminate wood is a composite fiberboard material. The multiple synthetic layers of thin wood boards that make up its core are fused via a lamination process. Attached to the core’s top section is a hard, printed hi-res wood photograph. An anti-fading, anti-scratch sealer provides the finish.
Upsides and Downsides
Engineered wood is highly moisture-resistant and thus, performs better than solid hardwood in bathrooms, kitchens, and basements. It is also pocket-friendly, costing about half the latter’s price. However, it doesn’t feel or sound as natural as hardwood. When subjected to foot traffic, it tends to produce a hollow sound. Engineered floorboards can last up to 30 years or longer, but don’t compare to solid wood panels that have a peak lifespan of 100 years.
Laminate hardwood is more scratch-resistant than solid and engineered hardwood, which makes it durable. It lasts up to 30 years when properly installed and maintained. It’s also the most affordable option. However, this flooring type has a slippery surface and can’t be refinished when heavily worn out. Thus, homeowners may reconsider installing it in moisture-prone areas to avoid slipping and replace damaged boards entirely.
Must-Have Tools and Materials
Before installing hardwood, check the flooring’s material-specific installation guide, which is included in the product. This determines the tools and materials. Generally, the following items come in handy:
- Parquet glue or underlay
- Tapping block
- Spacers
- Pry bar
- Tape measure
- Power drill
- Bevel tool
- Knife
- Pencil
- Saw
- Hammer
Installation Steps
While solid and engineered hardwood boards require nailing or gluing installations, with the former attached to an underlayment, laminate wood panels are attached side-by-side to the wall. Once in place, the laminate hardwood stays firm, thanks to its weight and friction. Recent engineered hardwood products come with improved set-ups. They feature interlocking tongues and grooves.
Acclimate the Floorboards
All hardwood flooring products must undergo acclimation to avoid warping, cupping, splits, and gaps, among others. It entails placing the flooring boards in the installation room so that they attain equilibrium moisture content (EMC) within the normal room temperature. Simply put, the wood moisture content is able to adjust to the interior space. This is also known as hardwood conditioning. The ideal acclimation period ranges from three to five days.
Prepare the Subfloor
The subfloor plays a huge role in hardwood installation. This section must be even, structurally sound, and completely dry. If not, it can lead to buckling, cracking, and other structural problems that may compromise the flooring’s performance. Use a straight edge and a tape measure to achieve the desired level of flatness. Remove strips of old flooring materials and vacuum the entire space to keep it dirt-free.
A clean surface is essential for a tight bond between the hardwood floor and the board edge, and to allow the gluing resin to attach to the floor without obstruction. The minimum measurement for the subfloor is ¾ inches. Remove the shoe molding. Snap a chalk line 3/8 inches from the baseboard. This creates room for expansion and contraction.
Install the Floorboards
- A rule of thumb is to affix the floorboards on both ends of the room to the subfloor (perpendicular to the corresponding joists underneath), using nails or screws to secure them firmly. A power drill or nail gun comes in handy. The former allows for easy demounting.
- Mark spots a half-inch away from the edges of the grooves. On these markers, drill holes that are 1/32 inch in diameter. Drive the floorboards through the tongue and into the grooves.
- Use a tapping block and mallet to tap the next floorboard. Attach the board with nails to the tongue of the earlier-installed board.
- Select the right size of floorboard for the baseboards. Saw it to maintain a length of 10 to 12 inches. The leftover panel starts the next row.
- When installing the last floorboard, ensure that it fits accurately to the spot while maintaining the 3/8-inch demarcation.
- Once done, fill up the nail holes on the face-nailed floors on either end of the room using wood putty, wiping off any excess substance. The putty’s color should complement the board’s.
- Finally, replace the shoe molding.
Clean the Finished Floor
Considering the amount of work that goes into installing a hardwood floor, there would be wood splitters and dust everywhere. Use a vacuum cleaner and dry mop to tidy the area.
Conclusion
Hardwood floor installation is demanding. It requires planning, patience, and precision. However, it doesn’t require much time to get a hang of it, which then eases the process. As earlier stated, it might even take a day to install the floorboards, provided the right tools and materials are present. However, if the DIY method is somewhat confusing, there’s always the option to hire a professional.


