
1. Remove Obstacles
You can’t get paint on the walls properly without preparing the room for the job.
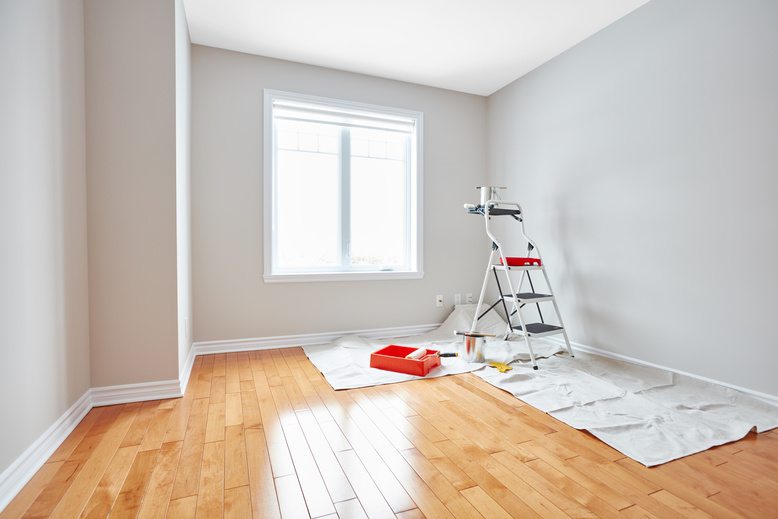
First, you should move as much furniture out of the room as possible. What you can’t move, push into the center of the room and cover with tarps or drop cloths.
Next up, remove the electrical plate covers on your light switches and outlets. You can put a bit of painter’s tape on top of the plugs so that if you do happen to splash paint, it won’t get stuck there.
You’re probably wondering, what does this have to do with paint drips? Well, moving furniture will prevent drips because you’re less likely to trip on or bump into furniture, which might end up sending paint splashing everywhere. And removing outlet covers and light-switch plates — and doorknobs, window latches and other obstacles on the walls, doors and windows — will further ensure a smooth finish.
2. Prep the Walls
Next up, your paint might drip because your brush hits an obstacle. Whether that’s a protruding nail head, uneven surface, or anything in between, you’ll want a smooth surface to paint on for the best finish possible.
If you’ve got a new house, you’re in luck — these walls will require little to no prep. If you have fresh plaster, you will have to apply primer first. Otherwise, the porous material will absorb lots of paint, which isn’t necessarily a bad thing, but makes your job a lot harder.
Most people will have to fill holes and cracks in the walls before they paint. It’s a relatively easy task, so long as you have everything you need. You’ll fill the gaps with a flexible filler, then lightly sand down anything that’s not flush with the wall. Voila – no bumpy obstacles for your paintbrush and less chance of an unexpected drip.
Once that’s done, lightly sand the walls throughout the entire room. This roughs up the surface just enough to help paint stick. Again, that’s another great way to prevent drips — having a clean, smooth and just-absorbent-enough surface to paint.
3. Tape Off Woodwork
Even with all of this prepwork done, you might still have a few drips along the way — you’re not a professional painter, after all. So, grab the painter’s tape and protect surfaces that won’t recover if they get a drip on them.
We’ve already talked about covering floors and furniture with drop cloths. But don’t forget that your woodwork should be covered, true. That’s especially the case if you’re not going to re-paint trim and crown molding — it should be taped off to stop any drips from falling onto these areas.
4. Choose a Roller With Short Nap
Unless you’re creating some kind of texture on your wall, then you don’t need a very furry roller. Instead, you need a short nap roller that won’t soak up too much paint. You want just enough paint to stick on the walls — you don’t need any sloshing or dripping from your roller.
On that note, be sure to select a high-quality roller, too. You don’t want it leaving any lint behind, as trapped lint can be just as much of an eyesore as a paint drip.
5. Paint in Order
You don’t want to mess up all of your prep work by painting your room the wrong way — and making it susceptible to drips on the way.
With everything covered, taped up and with gaps filled in, you’re ready to tackle the paint job. But where do you start? Try following the procedure of a professional interior painting team. You’ll always start with the ceiling (if you’re painting it), then hit the trim. After the trim dries, tape it off, then paint the walls.
6. Maintain a Wet Edge
You don’t just want to avoid paint drips. You should do your best to avoid any streaking in your paint job, too.
Professional painters do this by maintaining a wet edge as they roll paint onto the walls. This means that, when you roll on a section, then go to dip your roller in the paint tray, you’ll apply it right where you left off — and you’ll do so as quickly as possible.
If paint starts to dry, it might streak when you roll a wet layer on top of it. But if you keep a wet edge, it means that you apply paint right where you left off, ensuring it’s still tacky and not going to streak.
This doesn’t mean you have to rush, though. Moving with intention but without rushing is a great way to prevent drips and splatter marks.
If you want your furniture, home decorations and appliances to be free of damage or stains but do not want to bother with the proper protection applications yourself, feel free to call a professional local painter, to help with your project. 1(904)217-9681
I have more than ten years of experience in Saint Augustine with professional tools and a fast delivery!
I perform a quick on-site survey with my team and give you a personalized quote in no time for your planned restoration.
Master Interior Painting Like a Pro
Not everyone knows how to handle interior painting like a pro. And, even with the above tips, you might find yourself struggling to get it all just right.
In that case, you may want to call in a St Augustine painting team to handle the job for you. We’re up for the task — click here to get a quote for our services, which typically take two days.


