Even for expert painters and decorators, painting a ceiling can be a difficult process. It can be difficult to avoid drips, splatters, and sloppy cleanups. However, with the right painting tools and techniques, painting a ceiling without making a mess is possible.
This article, provided by professional painters working with Fantastic Services, will give you essential ideas and methods to ensure a clean and hassle-free painting technique, whether you are a handyman or a DIY enthusiast. You can have a properly painted ceiling without the stress of a messy cleanup by selecting the ideal tools for painting as well as proper preparation and execution.
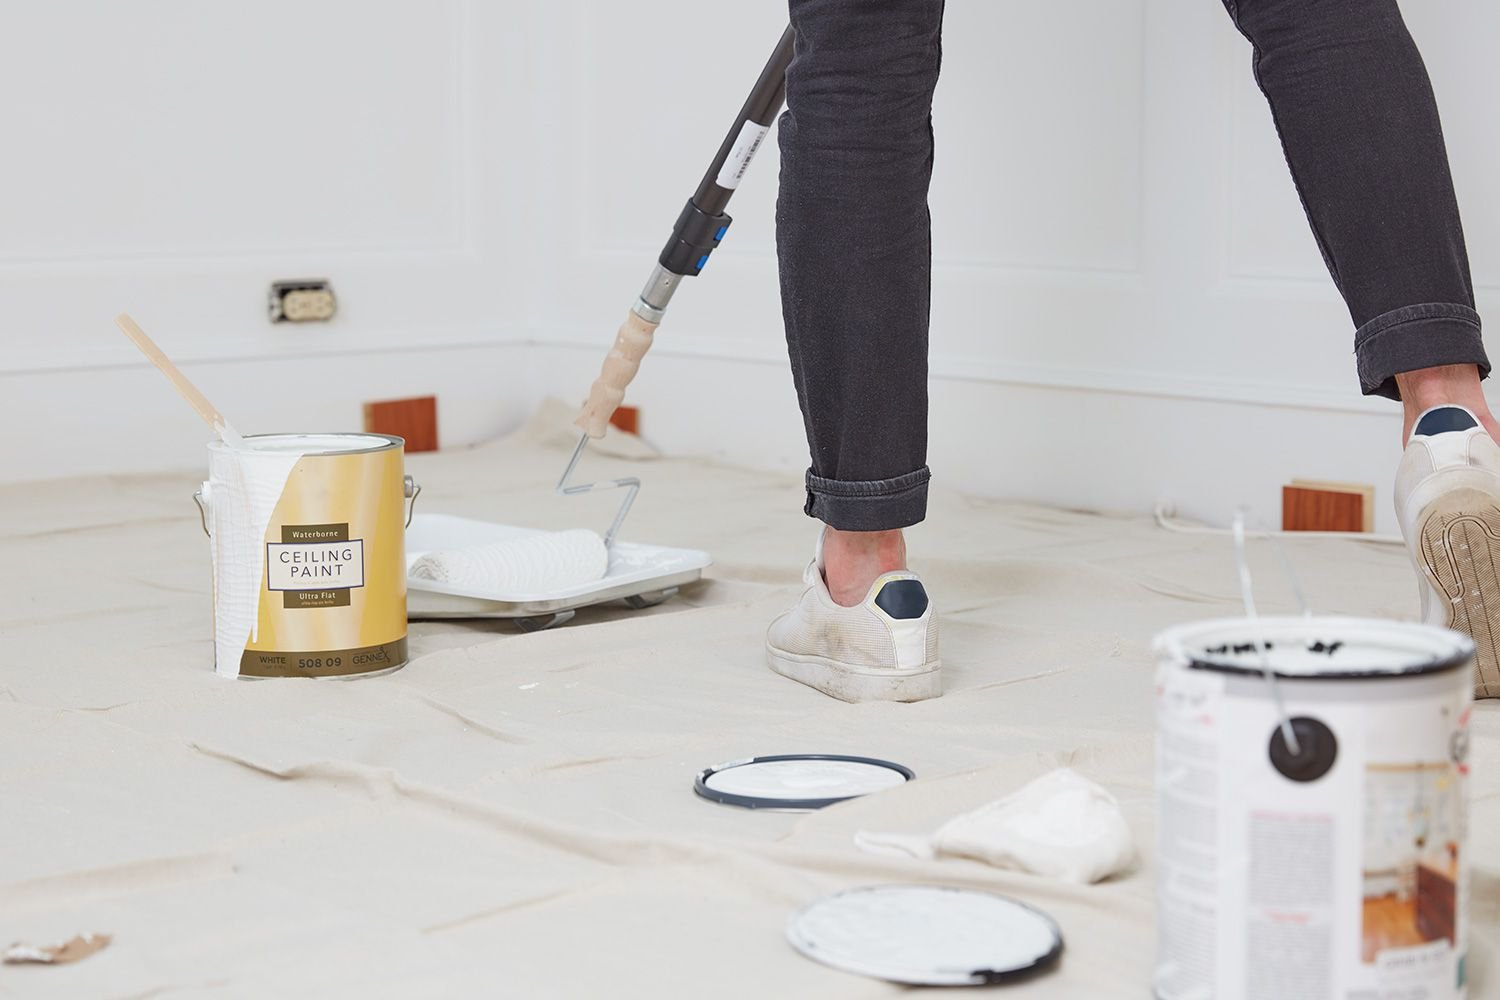
Painting Tools You’ll Need
When it comes to DIY painting a ceiling, having the right tools will make the job way easier and much more efficient. Here are some essential handyman tools you will need:
- Paint Roller – A high-quality paint roller with an extension handle is necessary to reach high points on the ceiling. Look for a roller with a medium nap or thicker for textured ceilings.
- Paint Tray – Use a paint tray to hold the paint while you work. Choose a tray that is deep enough to hold enough paint for the job.
- Paintbrush – A high-quality paintbrush is essential for cutting along the edges and corners of the ceiling.
- Painter’s Tape – Use painter’s tape to protect the edges of the walls from the paint.
- Drop Cloths – Cover the floor and any furniture in the room with drop cloths to prevent paint from splattering onto them.
- Paint Guard – A paint guard is a helpful tool that attaches to the paint roller to prevent drips and splatters.
- Extension Pole – An extension pole will help you reach high points on the ceiling without having to use a ladder.
By having these handyman tools on hand, you can easily and efficiently paint your ceiling without making a mess.
Prepare the room for painting
All professional painters will tell you that to prevent a mess, you must carefully prepare the area before you begin painting your ceiling. How do you do that? The first step is to move or cover all furniture with plastic sheeting. This will keep any inadvertent splatters or drips off your things. It’s also a good idea to take down any light fixtures or ceiling fans to make painting easier.
Next, you’ll need to clean the ceiling thoroughly from dust or debris. A vacuum with an extension wand or a microfiber duster can be helpful for this step. After cleaning the ceiling, use painter’s tape to mask off the edges of the ceiling where they meet the walls.
Finally, cover the floor with drop cloths to protect it from paint spills and drips. Plastic drop cloths are inexpensive and easy to use, but canvas drop cloths are more durable and can be reused, so consider which you’d prefer. With the room properly prepared, you can start painting your ceiling without worrying about making a mess.
DIY Painting Tricks and Tips
DIY painting can be a daunting task, especially when it comes to avoiding a mess. However, with some simple tricks and tips, you can achieve a professional painter’s job without creating chaos in your home.
Use Cardboard to Protect the Floors
One of the most critical steps to prevent a mess when painting is protecting your floors. Using cardboard or drop cloths is an effective way to keep paint off your floors and carpets. By placing cardboard or a drop cloth underneath the area you’re painting, you can catch any drips or spills that may occur during the painting process.
Use Petroleum jelly on Spots You Don’t Want to Paint
Another simple trick to prevent paint from getting on areas you don’t want to paint is using petroleum jelly. A tiny quantity of the material applied to locations like doorknobs, light fixtures, and window frames will provide a barrier between the paint and the surface. Afterwards, if you accidentally brush up against these areas with your paintbrush, the paint will not stick. Very cool, right?
Use Rubber Bands to Catch Excess Paint Drips
If you’re worried about excess paint dripping off your paintbrush or roller, try using rubber bands. Wrap rubber bands around the paint can to remove excess paint from your brush or roller. This way, you won’t have to worry about paint drips when applying the paint to the wall or ceiling.
Line Your Painting Tray
Another idea is to line your painting tray with a plastic bag. This simplifies cleanup and eliminates the need to wash your painting tray after each use. It also saves time and money on purchasing disposable trays.
You can avoid making a mess and accomplish a professional-looking paint job in your home by using these basic DIY painting methods and tips. These handyman and painting tools are ideal for professional painters and decorators as well as individuals doing DIY painting projects on their own.
Soak Your Brushes in Fabric Conditioner
Soaking your paintbrushes in a fabric conditioner can restore their softness and make them easier to clean. Paint can cause the bristles of your brushes to stiffen and harden with time, making them difficult to use and clean. By soaking them in a solution of fabric conditioner and water, you can help break down any paint buildup and restore the softness of the bristles.
To use this trick, mix a small amount of fabric conditioner with warm water in a container. Soak your paintbrush bristles in the solution for at least 30 minutes or overnight if the bristles are especially stiff. Once they have soaked, rinse the brushes thoroughly with clean water and let them air dry.
Using fabric conditioners to soften your paintbrushes will save you money in the long term since they will last longer and be simpler to clean. It also helps to ensure that your brushes are in good shape and ready to go for your next painting endeavor. So next time you’re finished painting, try soaking your brushes in fabric conditioner for a quick and easy cleaning solution.
Hire a handyman
Consider contacting a professional handyman or painter if you are feeling overwhelmed or unsure about painting your ceiling. A skilled handyman or professional painters and decorators have the tools and skills for painting to complete the task quickly. They may also provide helpful advice on selecting the best paint and painting technique for your ceiling.
Hiring a contractor may also save you time and ensure that the project is completed correctly the first time. While it may be more expensive than doing it yourself, the peace of mind and superior results are often well worth the extra expense.
Conclusion
To summarize, painting a ceiling may appear intimidating, but with the correct materials and skills, it can be a do-it-yourself effort. You can do a professional-looking paint job without producing a mess by preparing the room, using the proper painting tools, and adopting some useful tips and tricks. Whether you hire a handyman or do the project yourself, following these steps will make the procedure go more smoothly and efficiently. You may successfully paint your ceiling and change your room into a new and pleasant area with a little patience and practice.


")


