
When you’re first meeting new people, you want to make sure you look your best. You stand up tall, make sure your outfit is well put together, and smile. If you’re putting that much effort into just meeting someone, think about the first impression someone gets when coming to your home for the first time. With Paisley Painting, our exterior house painting professionals will transform your house into something you will be proud of.
Even if the inside of your home is immaculate, the outside is still what people see first. You can boost your home’s curb appeal by refreshing its exterior paint job in just three easy steps. Before you begin, here are some materials you need:
- Power washer
- Sandpaper
- Primer
- Paint roller
- Two or three-inch brush (for the trim)
- Paint
Wash & prep siding
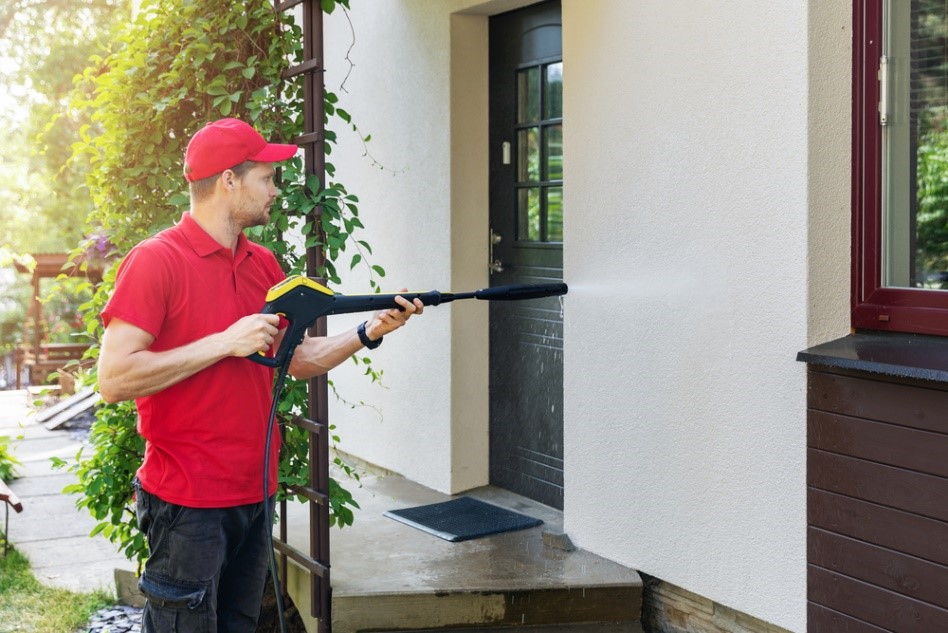
It’s easy to get excited about a new project. The aisles of every home supply store suddenly become a wonderland of possibilities. Before you know it, you’ve put on your old jeans and are ready to get down to the nitty gritty. First, you have to prepare your home’s exterior for painting.
While primer is an important part of the painting process, you want to make sure the exterior of your home is smooth and clean first. A power washer can be useful for removing grime and mold. Since a power washer can’t scrub off all remnants, you might want to invest in a long-handle brush, and scrub siding with soapy water. Laundry detergent works for these purposes.
Chipped paint also must be scraped off the surface. So, feel free to skip arm day and instead grab some sandpaper and to smooth down siding – this is especially important for wood exteriors. Now, you don’t have to do this all over. You only need to remove flaking paint, as it will continue to chip and take any new paint with it.
Rotting wood will also not be able to hold paint, so use wood sealers on spots with rot. It can be a simple fix for minor issues. Bigger problem areas can be addressed by replacing them with new patches of wood and affixing it with wood glue.
Lastly, you’ve never seen anyone painting their home in the dead of winter. There’s a reason, and it’s not simply to keep from freezing. Paint runs more in humid weather. You’ll want to find a time of year that’s dry and temperate. Extreme heat can cause the paint to dry too quickly, making it almost impossible to get an even distribution.
Choose your color scheme
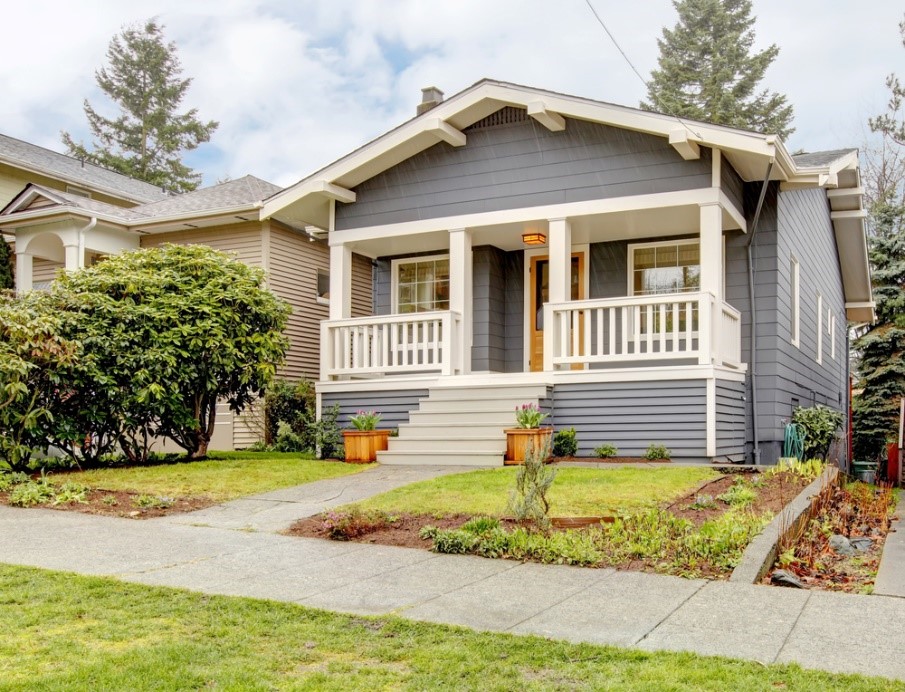
You’ve gotten your home prepped, the weather is right, and now it’s time for that all exciting trip to the store to pick up your paints. In choosing paints, there any many factors: where you live, the architectural style of your home, and the material of your home’s exterior (vinyl, wood, stucco, etc.)
It’s also important that you like the look of your house. While making a good impression is important, remember it’s your home and it should feel like it every day. Here are some popular color choices to consider.
- Classic white has come a long way since the white picket fences of the 50s. Now, there is a multitude of different shades, from creamy to luminescent. For a more contemporary look, add dark trimming to a white home.
- Desert tones don’t just include tans. Beige, terracotta, ochre, and other warm hues look stunning on Mediterranean or Spanish-style homes. If you’re interested in having a bright, vibrant façade, a nice tan can complement the natural beauty without overwhelming it.
- Blues and greens have also made a big push in the last few years by helping to pull from the natural surroundings of a home instead of battling them. Homes in more wooded areas can seem perfectly picturesque with a soft green. Or, a Cape Cod style home with a periwinkle exterior can add its coastal charm.
Embrace your home’s personality as well. Not everyone home is the same or in the same area. Do you have brick, wood, or beautiful glass highlights on your home? Look at what’s already at your disposal, and work around it to make sure your home’s personality shines through.
Painting in progress
You have your home prepped, you have your paints, and now it’s time to get to the big project. Make sure you’ve set aside enough time for this project. You won’t be able to paint your house in one weekend. Every coat of paint must fully dry before the next is put on. So take your time, and make sure each brush stroke counts.
Paints have come far in the last few years in terms of longevity and sealing power. Some, you don’t even need to prime before. However, there is no aspect that a lot of people don’t give the proper care to: their tools. If you’re going to spend good money on paint, you are going to need to proper tools. No one wants a $50 steak and a $3 glass of wine. Make sure your tools will make the job easier, not harder.
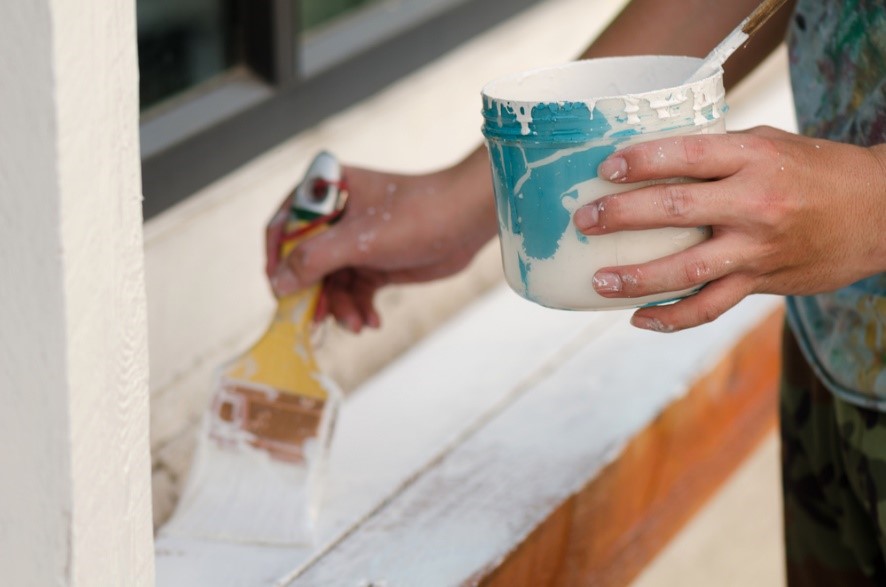
Paint the base of your home first and save trim for last. It could take a day or two for the primer to dry, and this must be done before you begin applying paint. As such, expect the entire process to take about one week.
When the time for your trim does come, keep in mind you’ll likely want to apply two coats of paint to this part of your home – especially if you’ve opted for a light color. When painting trim, leave doors and windows ajar so as to prevent them from being sealed shut by the paint.
Safety is also a big step many forget. Especially if you have a two-story home, you’ll want a sturdy ladder or scaffolding to access those hard-to-reach eaves.
Finally, you’re all done. Expect the final coat of paint to take two days to dry, and enjoy your home’s refreshed appearance. A well-painted home can last for years and increase the property value of your home should you decide to sell it. Now, relax with a cold drink – you’ve earned it.


