
There’s nothing like relaxing on your own patio with friends and family on a hot summer day.
Owing to rising material costs and construction obstacles, gardeners across the country are turning to gravel patios as an alternative to traditional patio surfaces including poured concrete, flagstones, timber decking and paving.
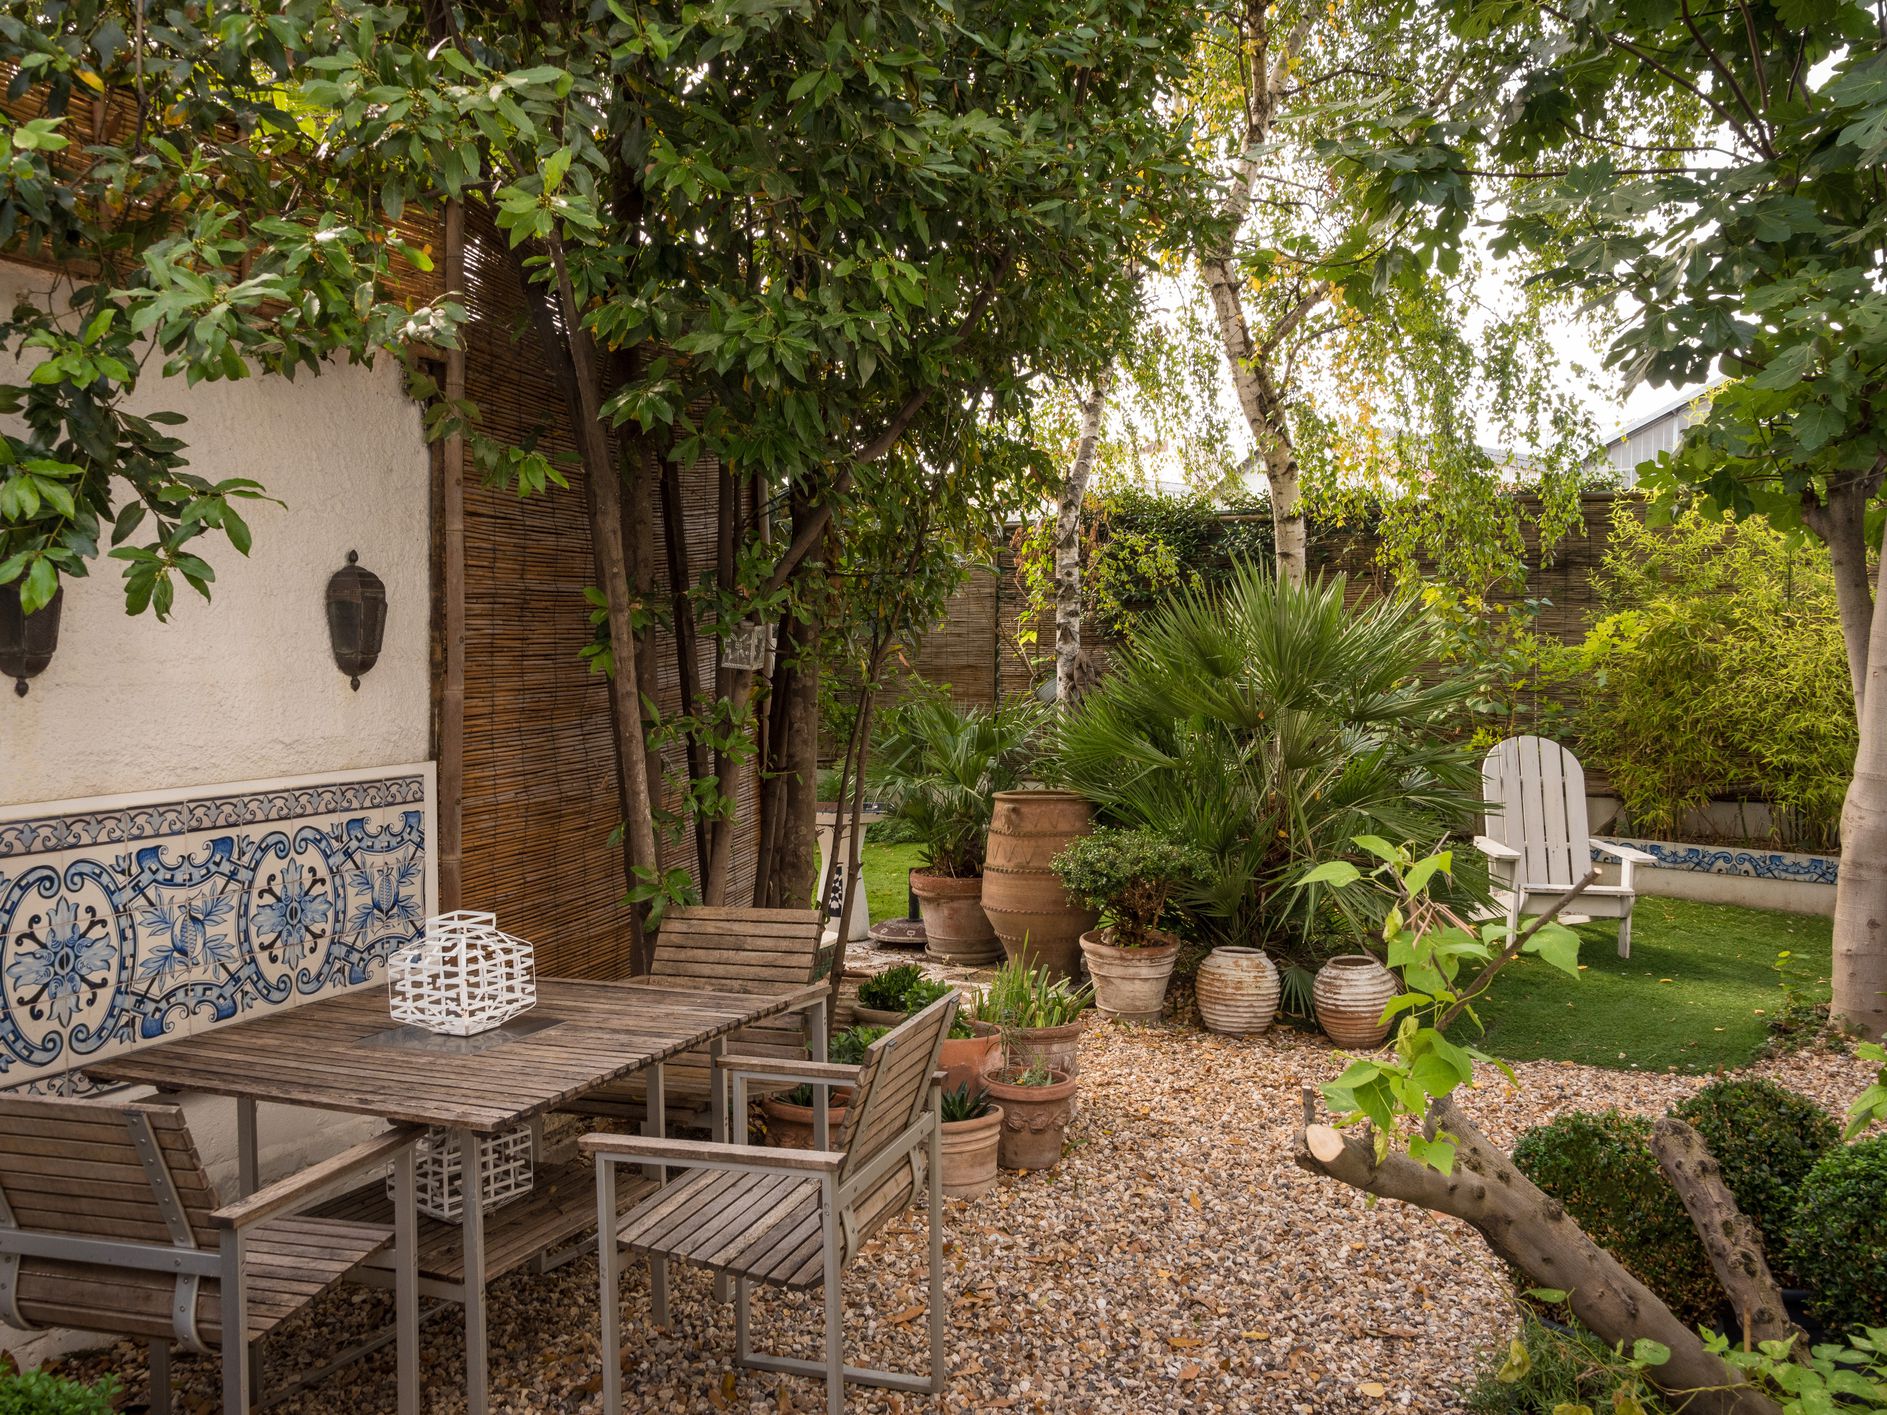
A gravel patio
It is a flat surface that can be attached or unattached to a house. Patios commonly include a table and chairs, but they can also incorporate fire pits, barbeques, and custom planting sections. Gravel patios are made of loose gravel. This results in a lovely and easy to maintain finish.
Benefits of a Gravel
- Attractive – gravel patios are gorgeous and complement the natural beauty of any garden style – contemporary or traditional.
- Easy to lay — Gravel is easier to lay than decking or concrete pavement because to its size.
- Gravel patios are less expensive than other patio surfacing options and do not require a landscaping professional to install.
- Drainage – gravel surfaces are permeable and naturally drain, preventing puddles.
- Versatility – gravel may be used for a number of surfaces, offering you endless design options, like linking a natural gravel pathway to your patio.
Laying a gravel patio
- Pick your gravel.
- Mark the gravel patio area.
- Dig a 5 inch deep hole for your gravel patio.
Préparation of border and edging
- Compact the base and add crushed Type 1 MOT limestone.
- Apply a weed-prevention membrane.
- Top with your favourite decorative gravel.
Materials needed
- High-quality ornamental gravel for a stunning patio finish.
- Stable foundation using MOT Type 1 levelling material (crushed limestone to dust).
- Spade for digging and laying decorative gravel.
- Water Drainage and Weed Resistance Membrane
- Grass and debris wheelbarrow
- Use a measuring tape to determine the size of your patio and the amount of gravel needed.
- Rake the finished gravel patio surface level.
- Mark the gravel patio area with hose/string and wooden stakes.
- Boulders for a beautiful gravel patio border (optional).
Step 1: Select gravel
The lovely Dove Grey Limestone Gravel 14-20mm to the exquisite cream Cotswold Buff Gravel 20mm are just a few examples of the stunning gravel colors and sizes available for your patio.
For a more modern look, try Silver Blue Granite Gravel 14mm, which has blue tones with silver flecks.
Polar White Marble 20mm is a stunning white and angular gravel that offers a bright, clean aesthetic that wonderfully brings out the natural color of surrounding plants and flowers.
But don’t let us decide! gravel in CT has a large selection of decorative gravels and aggregates in a variety of colors. Any gravel color will look fantastic on your new patio.
Step 2: Mark the space for your gravel patio.
Before you start digging, you’ll need to decide where your gravel patio will go.
Consider the material’s adaptability and whether you want to incorporate existing garden paths into your gravel patio. Consider whether your patio will be an extension of your home or a distinct outdoor area. If you plan to build your patio away from your house, find a flat place to make laying the gravel patio base easier. Choosing a location on a hill or raised area will also allow you to enjoy your garden while sitting on your new gravel patio. Once you’ve decided where your gravel patio will go, it’s time to mark it out. Use rope, string, marking spray, or a garden hose. In order to excavate, stakes can be dug into the existing turf.
Step 3: Prepare the gravel patio
After deciding where you want your gravel patio, remove topsoil with a spade to the necessary depth. Excavate at least 5 inches deep if you plan to add a sub-layer for extra stability (13 cm). Assemble a flat, compacted gravel patio base. Softer portions may need to be dug up and re-set with MOT Larger patios may need a roller to compact the foundation layer. A square edge spade is suggested for straight and even gravel patio sides.
Step 4: Create a gravel patio edge or border
At this step of designing a gravel patio, you will need to decide on edging.
As gravel is a loose material, having a border is vital as a compact barrier will keep the gravel within the patio area minimising time spent maintaining the area as furniture and foot movement may scatter the gravel and cause it to spill over.
Timber, bricks, and stone are all options for edging. Budget-friendly bamboo or spiked timber border edging separates your patio from turf and keeps the gravel contained.
Step 5: How to Build a Gravel Patio Sub Base
If you plan heavy foot activity or outdoor furniture on your gravel patio, you should prepare a subbase using MOT Type 1.
Spread the crushed levelling material uniformly around the base of your excavated patio area.
Always compact Type 1 to avoid an uneven gravelled surface after the final material is put, and leave at least 2-3cm empty for the decorative gravel.
Step 6: Cover your gravel patio with a weed-resistant membrane
After preparing and compacting Type 1 MOT, apply a layer of Weed Prevention Membrane. Cut the sheet to form and compact it on top of your MOT Type 1. In order to avoid the gravel mixing with the crushed limestone or soil beneath, a weed resistant barrier should be applied on the gravel patio base. It will also help drainage.
Step 7: Add your gravel
After the weed prevention membrane has been spread across the sub-base material, the decorative gravel can be added.
The gravel can be shovelled onto the membrane and spread evenly with a garden rake.
Cost of a gravel patio?
Gravel patios are lovely, low-cost alternatives to timber and asphalt patios. Use our easy-to-use gravel calculator to rapidly calculate the quantity of material necessary for your project by inputting the patio area. The size of your gravel patio and the use of a subbase will also affect the cost.


