
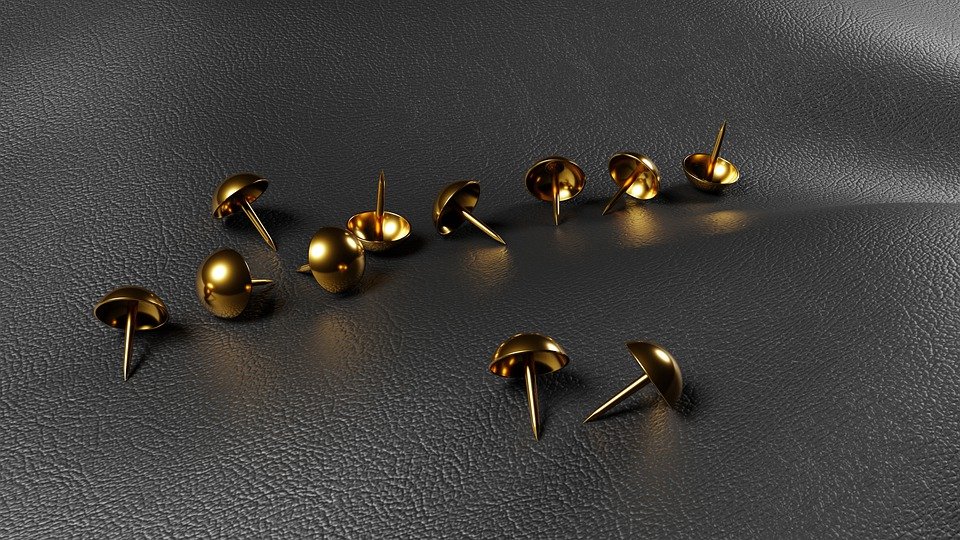
If you haven’t already used upholstery nails in your DIY projects, you may want to try them out. Small but mighty, these little accessories can totally transform any project and breathe new life into existing furniture or accessories.
And it doesn’t take much to transform a piece of furniture. It could be as simple as a flash of colour or a new handle.
But upholstery nails are a simple and fast way to transform any piece of furniture or accessory.
For example:
- Add the nails to a headboard for a unique new look to an old bed head.
- Bang them in around the edge of a boring old photo frame.
- Similarly, create a highly noticeable notice board with the help of a few upholstery nails.
- Create stunning and original patterns on dressers or spice up the front of old drawers.
- Old sofa, new nails. Get that classic Winchester look with the addition of a few nails.
Creating Patterns
Paint is great for creating patterns but by adding a few nails you can transform your flat surface into a 3D wonderland. And by using nails, you can easily create a theme for a room, and bring all the individual elements and accessories together.
These nails work really well with materials such as leather or take a plain old storage box and with just a few nails you have transformed it.
Or cover it in material, add nails and you’ve got a personal storage box that’s not available in the shops.
Imagine what you could do to a standard cork board with a few well placed decorative nails? The sky really is the limit.
And a pin really does add style to a chair or sofa. That furniture might get older, but these patterns won’t date.
Applying Your Upholstery Nails
The really good news is that upholstery nails come in all shapes and sizes so you can perfectly personalise your project.
They’re easy to bang in and super versatile too.
You just need the right hammer and a little imagination (or not. Just download a template from the internet. No-one will ever know)
Of course you want those nails in a straight line, that’s why the world of upholstery has created spacers. These clever little devices help you space out those nails just the right amount and in a lovely straight line.
In seriousness, though, upholstery nails can be hard to keep in place by hand, so take advantage of a spacer. You can create your own if you need a truly customised piece. Just use a piece of card and mark out the distances and cut a line towards the nail, so the spacers can be pulled free once the nails are in place.
The hammer is crucial too. Upholstery hammers have a magnetic end designed for tacks, but the more striking your nail the more gentle you’ll need to be to prevent damage risk. So consider a hammer with a nylon head on one side.
If the wood is hard, you could use a very small drill bit to create a pilot hole. Or bang in a regular nail that has a shaft smaller than the upholstery nail to create a pilot hole. These will stop those precious nails getting bent when you’re hammering.
It will all be worth it when your project is finished.
Final Thoughts
It’s easy to go straight for the paint when you’re thinking about your next DIY project. But why not step it up a level and add a few decorative nails.
These will really bring the piece alive and give your project a unique and professional finish, even if you’re a novice at these renovations. You might be surprised at how high-brow your next project looks with some well-placed decorative nails.


