
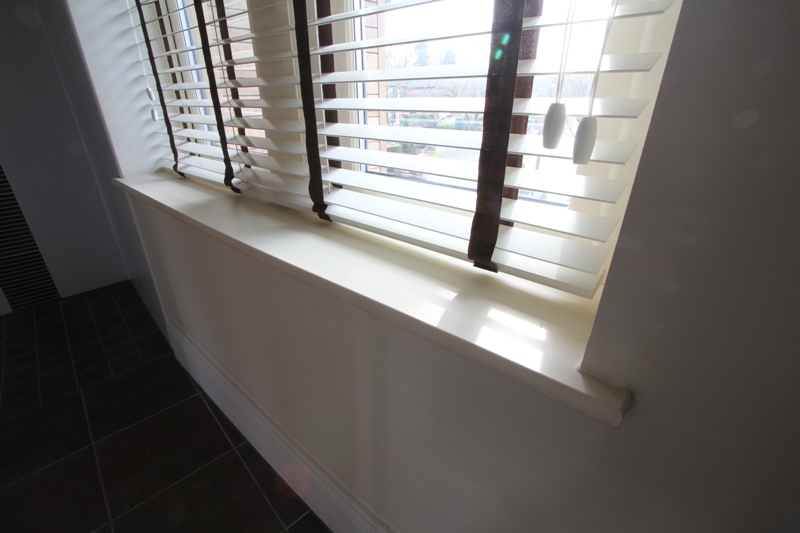
If you want better thermal insulation for your home and improve its aesthetics at the same time, installing a window sill would achieve these goals. Window sills can bring out the unique character of your home, perfectly reflecting your personality and style. There are many types of window sills, such as those made of wood (common among American houses), durable and affordable PVC sills, and granite sills for classic-designed homes.
It is important to note that there are important factors to consider when it comes to new window sill installation. Similar to window or door installation, hiring a specialist is not required.
In this article, you’ll learn how to install a window sill properly without the need for professional services. This would help you avoid problems in the future.
Prepare All Tools And Materials For Window Sill Installation
Before preparing all the things you need, it’s important to keep yourself abreast of how professionals install window sills by checking this window sill fitting guide. When installing a window sill, you should prepare all the tools and materials you need, including the following:
Tools
- Hammer
- Cordless screwdriver
- Crowbar
- Balance
- Spirit level
- Mortar or self-leveling compound
- Measuring tape
- L-square
- Chisel
- Jigsaw
- Clamps (several weights)
- Vacuum cleaner or broom
Materials
- The new window sills
- Side finishes
- Supplied protection tape
- Supplied screws
- Construction foam (alternatives: construction adhesives for tiles or cement)
- Optional: mounting angles
- Optional: special sealing
Surface Preparation Before Installing Window Sill
When installing a PVC window sill, measuring the base of the window sill is crucial so that you’ll be able to buy the right window sill for your needs. You’ll find stores that cut the boards at your required length, and there are those that sell them at different standard lengths.
Once you have already obtained the right window sills for your home, it’s time to prepare the surface before the actual installation. If you’re replacing an old window sill, make sure that the surface is free of dirt, dust, and residues, making sure that the adhesive will bond the materials without any problems.
Here are ways to prepare the surface before installing a new window sill:
1. Base Surface
Preparing the base surface is important before installing the window sill. Check if the base is straight by using a spirit level. If you observe several surface issues, make it straight by using a mortar or a self-leveling compound.
Remove all dust and surface residues by cleaning the surface thoroughly. Make sure that the base surface is free from grease and completely dry. All of these elements can restrict the smooth installation of the window sill.
2. Apply Adhesive
After leveling the base surface, apply the adhesive to the surface to keep the PVC window sill fixed in place. Lay the surface adhesive in a straight line, every two inches or so. Doing so will help lock the sill firmly into position.
Check out these tips when applying adhesive:
- Apply the adhesive uniformly to avoid the window sill from detaching from the base surface.
- Make sure to space adhesive beads from each other without overlaying because the adhesive needs air to dry out.
- Installing paper tape on the base surface’s edges helps protect the paint on the wall.
PVC Window Sill Installation
1. Mark The Cut
You need to cut the PVC sill to fit inside the intended window frame. Mark the cut for the PVC window sill using a tape measure and L-square. Skip this step if you bought a PVC window sill at the required length.
Use a tape measure to determine the dimension of the base surface. Next, use an L-square to draw a straight mark on the window sill at a proper length.
2. Cut The Window Sill
As much as possible, you should obtain a perfect or professional cut of the PVC window sill. Use two C-clamps for locking a straight board over the window sill. You’ll observe that the jigsaw blade is exactly over the marked line, at both ends. Use a fine-tooth blade after the setup is locked into position. The second board serves as a guide so you can make a precise cut.
3. Installing The Window Sill
Attaching the PVC sill over the adhesive should be done very carefully. Make sure that the window sill is properly aligned at all four corners. Check if the window sill is horizontal using a level. Also, make sure that the window sill is glued securely to the base surface by applying pressure or pushing hard on it. The pressure should be uniform over the whole area and apply it for at least five minutes. Placing water bottles on top will help avoid scratching the sill.
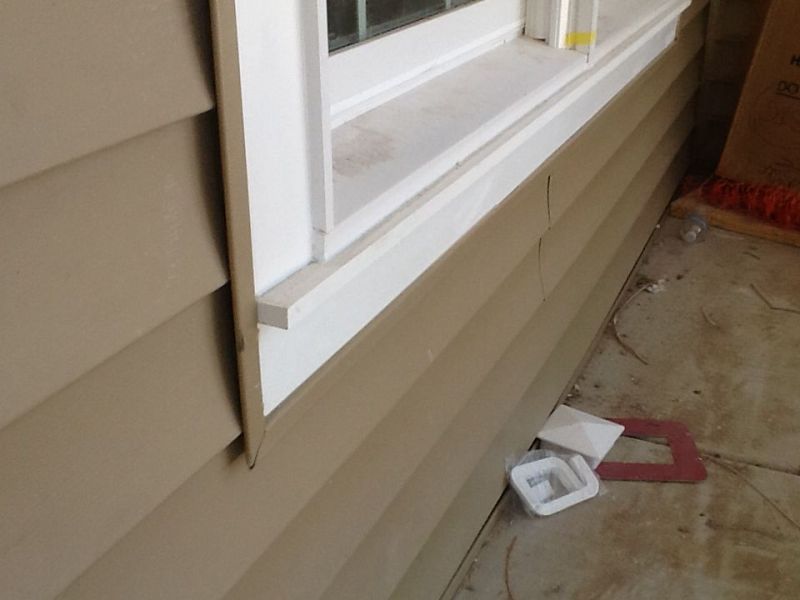
If you’re working with a narrow window frame, then, you can cut the PVC window sill and notch the ends, so the section in between the jambs would fit against the window.
Here are the necessary steps to take:
Cut the PVC window sill based on the width plus five inches on each side.
Center the PVC window sill on the window, marking the window frame ends on it.
Mark the notches’ depth using an L-square and, then, use a jigsaw to cut them.
4. Caulk Around The PVC Window Sill
This step is the last step when installing a PVC window sill. You have to caulk the gap or space between the PVC sill and the window. Caulking gives your windows a neat look and insulates the room properly, helping cut down electricity bills during winter.
Here are some helpful tips when caulking around PVC window sills:
- A waterproof sealant is used to caulk the sill, applying it on a continuous bead.
- Make sure not to leave any space between the line of caulk to ensure a secure fit and avoid high electricity bills and other problems caused by air escaping from inside the room outdoors.
- Avoid the window sill from getting dirty with silicone by using paper tape.
Conclusion
By preparing all the tools and materials you need, as well as the base surface, you are better assured that you’ll properly fit the window sill on the window frame, sans any stress and hassle. Follow the steps and tips shared above for a precise and seamless window sill installation without having to hire an expert.


