
Wireless thermostats have become increasingly popular over the past few years, and it’s easy to see why. Simple, unobtrusive and easy to use, these little devices are changing the way we heat our homes, helping us save money, hassle and time in the process. But what exactly is a smart thermostat? And how do you go about connecting one?
At Boiler Choice we set up hundreds of thermostats a year when we install new boilers for our London residents, and so we are in a good position to explore this exact topic with you within this blog – so read on!
What is a Smart Thermostat?
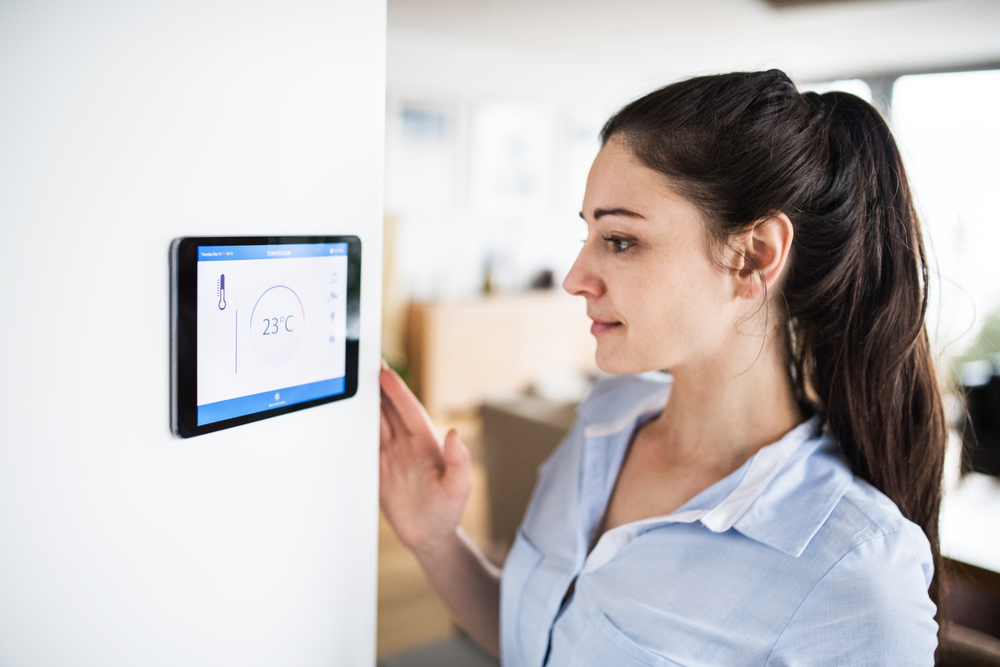
A smart thermostat is one that typically features enhanced connectivity when compared with traditional analogue thermostats. Smart thermostats fall under the bracket of the Internet of Things because they’re connected via Wi-Fi. The main difference between smart thermostats and traditional thermostats is that smart thermostats can change the heating independently at separate times of the day.
What that might look like, in practise, is the thermostat being set to run cooler when the house is unoccupied during the day, and then to run warmer when people have come back in the evening, for example. Most smart thermostats can also be operated remotely, usually via an app of some sort.
What are the Advantages of a Smart Thermostat?
The main benefit of smart thermostats is their practicality; the ability to easily control your home’s heating – even when you’re not at home – and without having to physically touch the thermostat, is highly appealing to many people. Another benefit is that it can save you lots of money on wasted energy bills; in other words, you can run your home’s heating more optimally, heating it when you need to, and running it cooler when you don’t.
How Much Can a Smart Thermostat Save Me?
It depends on various factors such as the particular thermostat, how large your home is, whether you use your home all day or not and more. According to consumer giant Which?, however, they reckon you can save in the region of £55 annually, though some smart thermostat providers claim you can save significantly more, annually, by switching to a smart thermostat. And what with energy prices set to soar later this year, any savings that can be made are more than welcome – in fact, the BBC estimates that energy bills will soar by a staggering £693 per year on average, from April.
At the same time, however, Which makes pains to point out that the relative lack of transparency from companies like Google (which offer the popular Nest smart thermostat) and Tado make it more difficult to verify the savings claims made by such smart thermostat providers.
Can I Install a Wireless Thermostat Myself?
A common question people have is whether they can install a smart thermostat themselves. The answer (frustrating though this might be) is that it depends! What does it depend on? Well, the type of smart thermostat in question. Some simpler smart thermostats can be installed at home by yourself, whereas the more complex, top-of-the-range smart thermostats will typically require professional installation.
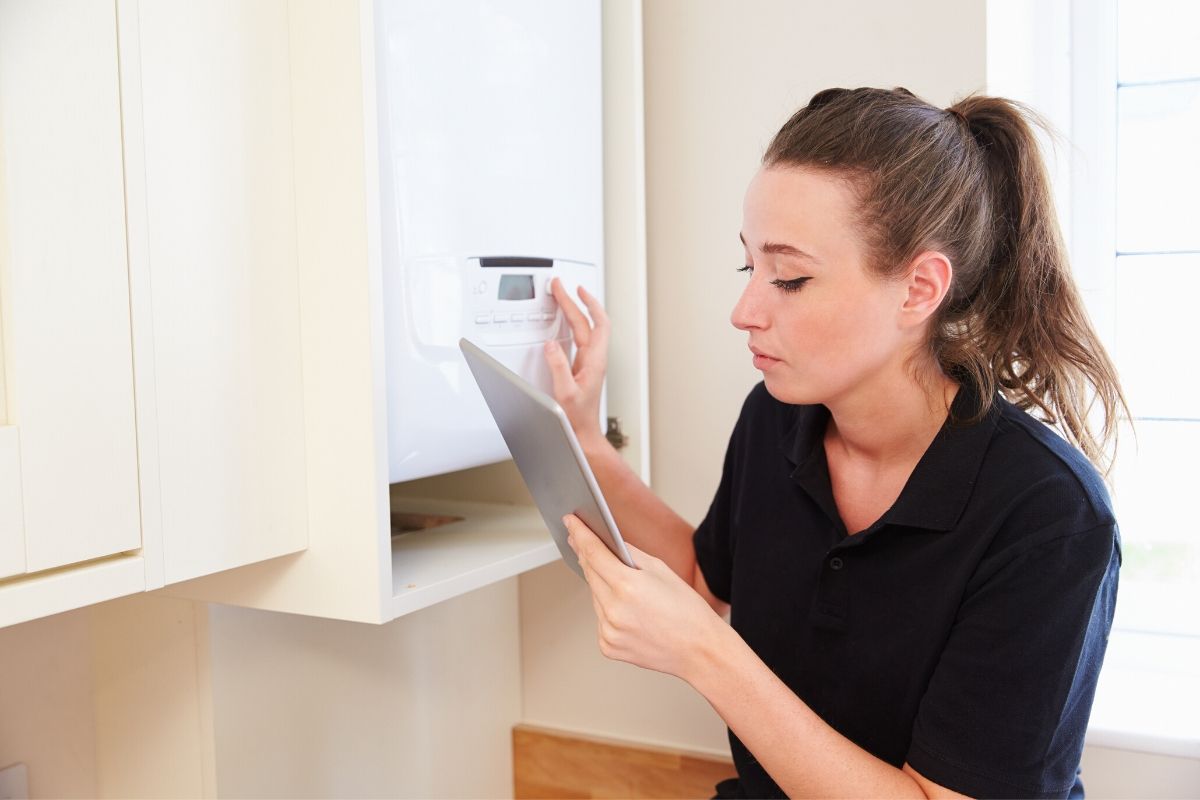
“How does a smart thermostat connect with a boiler?” we hear you ask? Typically, using three separate components: a hub, receiver and the thermostat itself. The hub is connected to your broadband router, the receiver needs to be placed within close proximity of the boiler, then the thermostat itself can be fixed somewhere convenient for you!
How to Connect a Wireless Thermostat to Your Boiler
If you are planning on installing your smart thermostat and connecting it to your boiler, yourself, then here’s what you need to do.
- Turn Off Your Heating
Firstly – and this is very important – make sure your HVAC system (i.e. your boiler/central heating) is turned off. This can be done by switching the heating off at your circuit box.
- Dismount and Dismantle the Old Thermostat
Secondly, you’ll want to dismount and dismantle your old thermostat. A good tip at this point (once you’ve removed the faceplate and backplate to reveal the wiring) is to take a picture of the setup; this way, you can see just which coloured wires are connected to which ‘letter’ terminals on the thermostat. This often serves as a handy reference point when wiring your new smart thermostat.
Then, remove the wiring by unscrewing the screws holding them in place (alternatively, the wiring is sometimes held in place by small tabs). Provided that the wires are in good condition, you can move onto the next step. If not, however, then it’s worth calling in – or at least consulting – an electrician.
- Mount and Wire the New, Smart Thermostat
After unpacking your smart thermostat, run your wires through the mount and screw/attach it to the wall in the position you want. Fortunately, most modern, smart thermostats label clearly which wires go where. If you’re at all unsure, however, look up instructions for the particular model in question. Needle-nose pliers are handy in positioning and inserting the correct wires with their corresponding tabs.
- Install the Faceplate, and Connect to Wi-Fi
Your smart thermostat is almost ready to go at this point, all you have to do now is snap the faceplate on the mount and then connect it to the same Wi-Fi that the hub has been. Then, you should be able to straightforwardly work your way through the on-screen set-up instructions. Once that’s all completed, don’t forget to turn your heating back on!
Final Thoughts
The thought of installing a smart thermostat can be a daunting one – but it needn’t be! If you take things one step at a time, these handy bits of tech can be installed quickly, safely and easily, and will save you money and hassle when it comes to heating your home. What’s not to like!


