
When installing a door, or we want to carry out remodeling or re-making, either because we are making a change or expanding a wooden door. It is inescapable to be aware of the exact details and each step when fixing it or reinstall it to fit snugly into the door frame.
It is essential to work with sufficient knowledge to fix and install the door to discern which hinges are the most suitable.
But also, knowing how to mount the lock, let’s start talking about the tools that a carpenter must have when remodeling and mounting (installing) a wooden door, as well as the necessary tools for assembly.
Tools needed when installing a wooden door
Specific essential tools are required to carry out this work. Before proceeding to work with the installation of the wooden door, recommend the following:
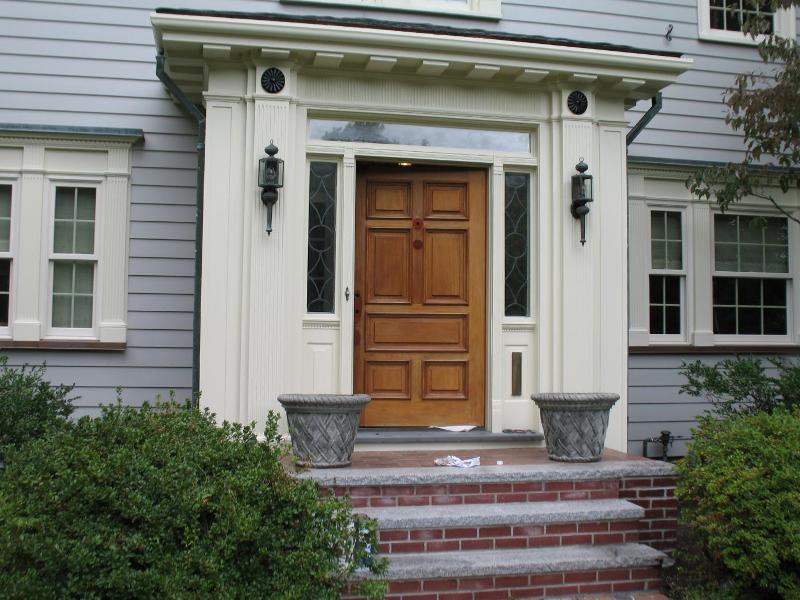
Get a bubble level, which will help you ensure that your door is not dropped or uneven, and if it is, you can correct it, that is, thanks to this implement you will achieve the exact level and plumb line so that the job is perfect. Get detail about the best wooden door from klarwindows.co.uk.
Below is a detailed list of tools and supplies.
- Tape measure.
- You will need bits orbits to drill in wood.
- A drill.
- Spade and cross screwdriver.
- Drill or cup wick to open the hole where the lock will be installed.
- Screws.
- Hammer.
- Circular saw to cut the wood,
- A milling machine and 20-millimeter cutters.
- Paddle bit.
How to install a wooden frame of a door in 9 steps
Continuing with the assembly topic, now let’s talk about the wooden frame of a door. It is good to remember and take into account the following nine steps, namely:
Before fixing the door, the wall must be previously stuccoed or lined, leveled, and painted, although later, some touch-ups must be done.
Plumb
When installing the door frame, first check if it is well framed, surrounded by the opening where the door will be fixed. This is tested, taking measurements diagonally (its two diagonals) of the opening or void where the door will go.
Door frame seams must be cut at an exact 45-degree angle.
With the circular saw, or a handsaw, cut at an angle of 45º (degrees), the frame boards’ ends. Do not forget to take due precautions when using the saw and to use glasses that protect the eyes from the chips (sawdust) of the wood.
Assemble the door frame by joining the four pieces with glue or bench glue, then holding with a sergeant or press for about two hours, then place the screws, for which you must use your drill and a bit (wick) that is of the measurement of the screws that you are going to use in said joint.
Before fixing the frame in the space where the door will go, check with the bubble level that your plumb line and your level are excellent.
Using a drill and a drill bit for wood (as it is also called), the perforations that will be made must go at a distance of thirty centimeters (30 cm) but, once said perforation is made, immediately change the wick by one to drill into concrete.
Once the holes have been made, do not forget to place the dowels, wedges or locks, where the screws will go, which will give greater sustainability and firmness to the screw and turn to the hinge, frame, and door.
Distance and dimensions to place the hinges
A door must have three (03) hinges. Begin to place the first hinge from twenty centimeters (20 cm) from the top edge towards the center. The hinge that will go to the other end below close to the floor must carry equal distance, and the last one, in the middle of the two previous ones, is equally similar to those of the ends.
Measurement of the distances of the hinges in a door
Hinge Distance Measurements
Use the router to make the cut-out or recess of the three millimeters (3 mm) where the hinges will be installed on both the door and the door frame. Why three millimeters and no more? You will ask yourself.
Well, because that is the measure that a hinge has in its thickness, you can make the recess using a chisel and hammer if you don’t have a router.


