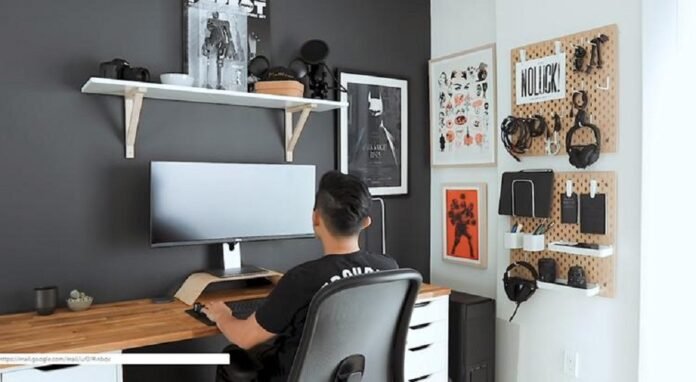
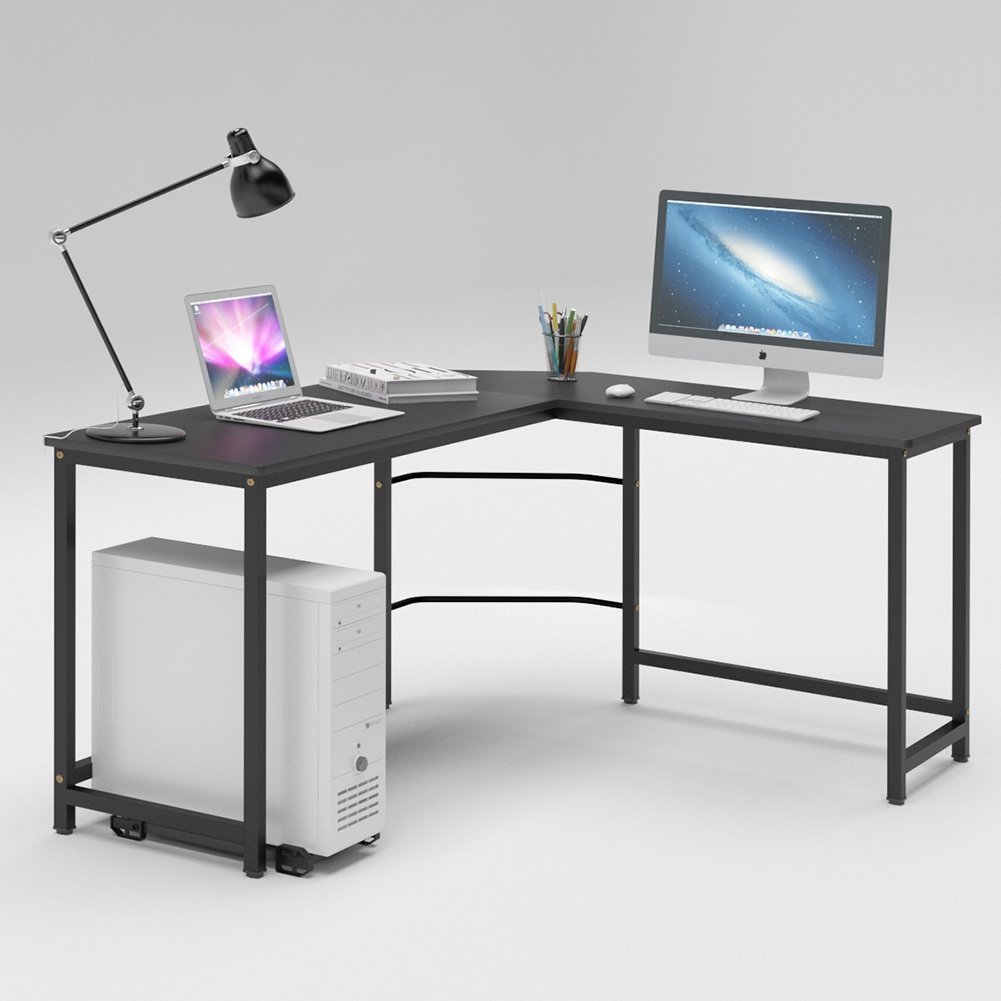
Spending a lot of money behind a computer desk or office desk sometimes is always not possible. When anyone (who has a slight experience of wood crafting), building a computer desk from scratch becomes easy. If you are under a budget you can visit Shop Abunda for Rent to own computers. You can say this is relatively a simple project in hand. But those who have no furniture crafting experience may face a lot of difficulties doing so. That is where we come in. Today, in this tutorial content, we are going to show you how to make a computer desk from scratch. Let’s get on with it.
For the more precise work, you can use the planer thicknesser which is perfect for trimming boards down to a consistent thickness. It is suitable for small workshops and DIY enthusiasts. Here you can find a detailed guide on Kitchen Home planer thicknessers.
How to Make a Computer Desk: Simple Steps
First Step: Making a Plan
The very first step should be making a computer table plan. Downloading a blueprint will help a lot in this case. You can find a blueprint online. Choosing the location of the table is also very important. After choosing a suitable location, you will get to know what measurement you should make. Deciding the practical size of the table is also mandatory. But the universal measurement for standard desks is 29 to 30 inches in height. The internal dimension may vary depending on the space.
Second Step: Collecting all the Necessary Tools
Collecting all your important tools is very important. Circular saw or battery reciprocating saw, measurement tape, crafting pencil, etc. Collect all the tools depending on your use.
Third Step: Cutting and Trimming the Wood
Now, cutting the wood to the appropriate dimension will ease your job a lot. By the way, it is possible for anyone to construct a desk just using the entire 2 into 6 or 2 into 4 boards. After collecting the board, mark the board according to your measurement. After that, cut the wood using a circular saw and trim them to size. One precaution you should make is that shaving off any round edges is very important. Well, if you think cutting or clamping is a pain, you can just purchase a solid door slab or sheet of laminated plywood which is used for bifold door too. This will work for you.
Fourth Step: Sand the Trimmed Wood Pieces
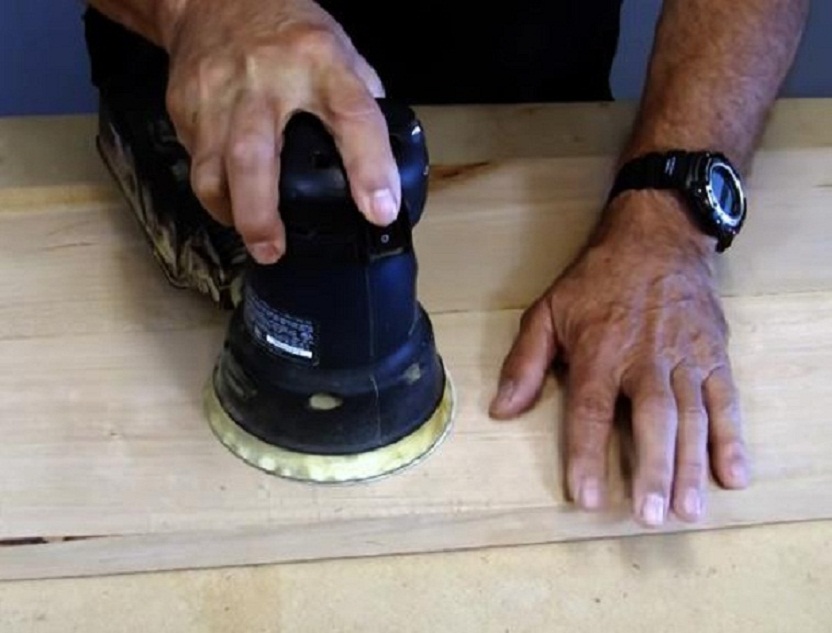
After cutting the wood you need to sand the pieces of wood. Using a sheet of medium- or high grit sandpaper will do the work. In my personal opinion, 80 to 120 grit sandpaper is good for your job. Or you can just glue the boards together if you want. But what we can say is that using sandpaper over the faces and edges of each piece will provide a smooth finish. You can easily paint the wood and get a good look.
Fifth Step: Glue the Boards Together
Now, you should glue the wooden boards together end-to-end into a single piece. In order to that, applying even line of glue to the cut edge of the very first board, and leave the rounded edges totally clean. After doing so, pressing one of the cut edges of the next board into place, and soon after that apply another line of glue onto the far edge. Using a series of the clamp will hold the boards together. Wait for the glue to dry. But be careful; wipe out any excess glue that seeps out of the crack. You need to wait at least for an hour before unclamping the boards.
Sixth Step: Paint the Desk
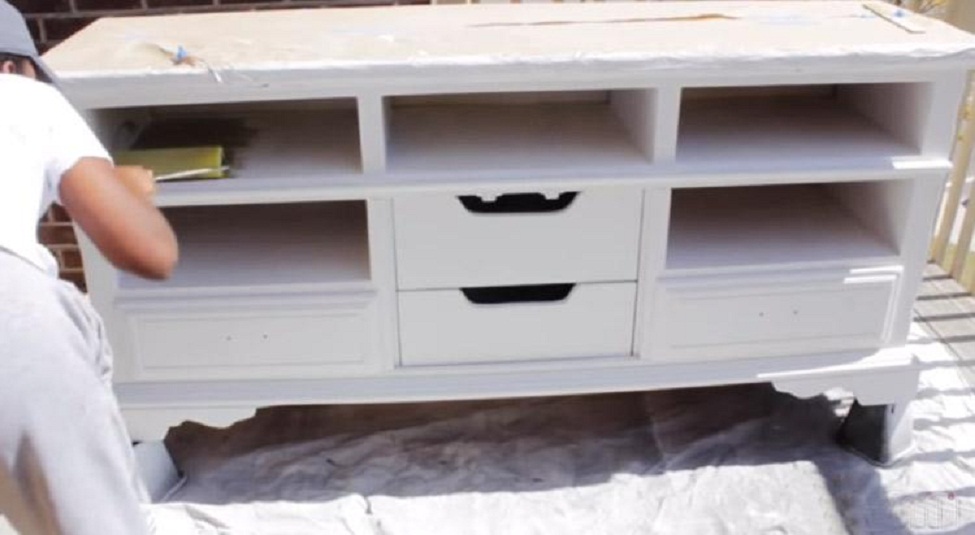
Painting the desk will give the desk a beautiful outlook. Paint or stain the desk in the shade of your own choice right after the glue has had time to dry completely. A proper painting can give you a awesome look, so be serious to paint. 2 to 3 coats of paint should do the job for you. But let each coat of paint dry before you apply another coat. This will provide a better result.
Seventh step: Attach Legs and Additional Features
Use the wood screw to attach the legs to the bottom of your computer desk. You can easily cut off the legs from 2 into 4 boards. You can also buy premade wooden desk legs so that your desk gets an even polished look. Also use of other items to improve the legs will help. But make sure the legs get a sturdy attaching. You can buy or build drawers so that all your working materials stay in place. For the last part, you need to make a hole to the back of the desk for hiding the devices electric cords. Mounting the desk on the wall is also a good idea. You can get all the idea of just looking online.
Conclusion:
If you are not experienced with furniture crafting, building a computer desk out of scratch is a little tough for you. But need not worry; we tried to resolve your problem. We hope that after reading this content, you too can build one out of scratch. Not that much of a trouble if you think of it. Just need to get all the materials and attach them according to your plan.


