
Here are ten simple steps in this article you can follow to install a two-handle faucet in your kitchen.
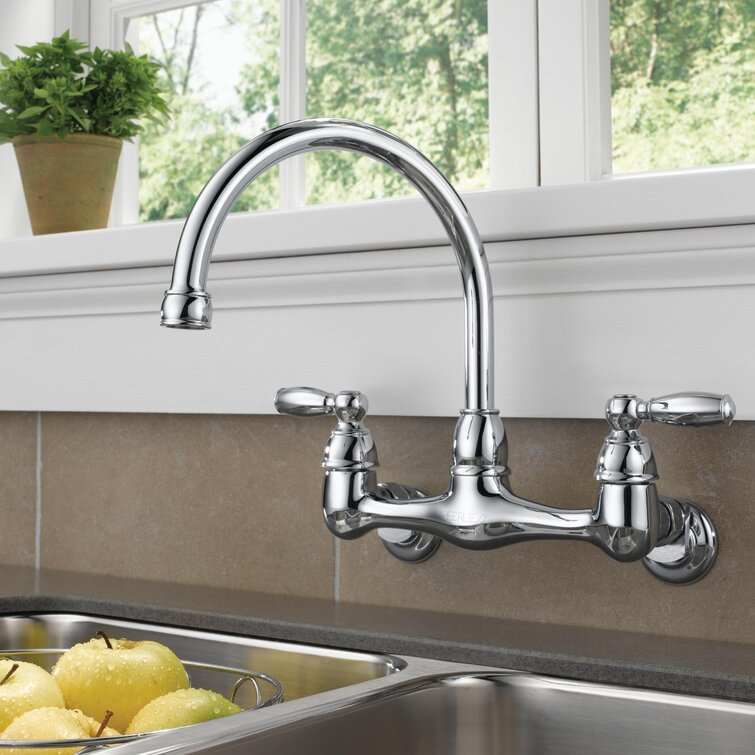
There are varieties of options available for you to pick a faucet. You have probably opted for a two-handle faucet, thinking it will make your life easier. It will not only help you adjust water temperature but is relatively easier to adjust than a one-handle faucet. It also gives you way better control over the flow of water.
You are here because you are facing some difficulties installing your two-handle kitchen faucet or are completely clueless about it. Whatever your problem is, this is the perfect place, read on to find out all information about installing your two-handle kitchen faucet.
It is fairly simple to set up kitchen faucets, no matter which types if you can properly follow the instructions from the manufacturer. So, carefully read the guidebook that comes with the faucet.
The Tools That You Will Need
Precautionary: Safety Glasses or Goggles
Wrenches: Basin and Adjustable
Screwdriver
Plastic pan
Pliers
Flashlight
The Materials That You Will Need
Two-handle faucet
Rags or towel
All-purpose cleaner
Pipe putty
Supply lines of faucet
Keep reading to find ten comprehensive steps that need to be followed to install a two-handle kitchen faucet
Step One
You should have a flashlight and a pan. They will make the whole installation process easier. You can also keep some rags handy in case of water leakages. They will be your lifesaver if leaks are identified. PPE safety glasses are an absolute necessity as a precautionary measure against anything that can fall or drop and might harm your eyes.
Typically, people store products and accessories underneath their sink. Your first step would be to clear everything out. If there is a power socket down there, do not forget to shut off the power before installing your faucet.
Step Two
Check if there are water supply valves underneath your sink. If not, you will have to turn off your home’s water supply.
However, if you are able to locate the valves, turn them clockwise to close. Use a plier if it is difficult to do so. To get rid of the remaining line pressure, open the faucets once the water supply has been closed.
Step Three
Your next step is detaching the water supply lines. Individual supply lines for hot and cold water are connected to their respective valves with a nut. You should use a wrench to remove those nuts. Remember to always push and never pull while using a wrench. Even after closing the water supply, if a valve leaks, you know that it is defective, and needs to be replaced.
Step Four
You need to remove your old faucet before installing the new one. To remove the faucet, dismantle its supply lines. Unscrew and detach the supply line connections and take off the old mounting.
There must be mounting fixtures holding your old faucet in place. You should be able to find them on the valve bodies for hot and cold. Remove all the mounting equipment and fasteners. You should apply grease to lubricate rusted and stagnant screws and nuts.
Once you have removed all elements related to mounting, your old faucet can be easily separated from the sink. If there is caulking, you will have to break it. After removing your old faucet, clean the countertop properly.
Step Five
Do you remember that we advised you to read the manufacturer’s installation guide in the beginning? Then you know that you will require a deck plate or a rubber gasket below the faucet. To avoid leakage, you also need a one-fourth dab of pipe putty between the faucet and the countertop.

Step Six
Next, you need to position the hot and cold assemblies and the faucet. You can directly align the riser tubes that are already attached to your faucet into the holes of your sink or countertop and position the faucet by lowering it.
Step Seven
Then, tighten the bolts that will hold the faucet in place under the sink. Your faucet will either come with bolted brackets or may feature nuts and washers which are screwed into valve pieces. Again, the mounting hardware is essential, and you have to ensure it is tightened.
Step Eight
You will need to attach the hot and cold valves afterward. Locate the faucet spout below the sink, and you should be good to go. The supply lines are flexible, so there will be no trouble.
Step Nine
Almost done with the installation, but there are more tubes to attach. This time, it is the hot and cold valves riser tubes to the water supply lines. After that, switch on the water supply valves located under the sink, or if it is not present there, turn on the house’s water supply. This will help you check for leaks.
Step Ten
Your final step will be to flush the pipes. You need to turn the faucet on after unscrewing the aerator head from your faucet spout. When water starts running, it will help flush out any remaining debris from your pipes. Thus, you will not face any blockage or contaminated water.
If there is no identified leakage and the water is running smoothly, you can place the aerator head back at the faucet.
Conclusion
If you have gone through the steps carefully, installing the two-handle faucet will not be hard for you at all.
If this is your first time installing a faucet, you need to be patient with the process. However, you can always call a professional if you’re willing to spend a few extra bucks.
It is a fairly simple process, and following the steps discussed here will help you to be successful in installing a two-handle faucet in your kitchen.


