
You feel them too, I know you do, those back pains that wouldn’t just let you be, they are gnawing at your health, your life. No, it is not hereditary, your parents were fine, you are fine too! The only thing that is less than fine here is your standing desk. Yes! That one you spend most of your day using in awkward positions. You don’t like them do you? But you don’t have a choice, you have to work, and the desk is the best you have seen in the market so far.
Well, I am here to tell you that you do have a choice! You can just dispose the desk you are using right now. And stop thinking about buying!! You might never get what you actually need. Why not simply create a desk that will perfectly suite your needs? Ever given a thought to that? Let me help you with that.
If you imagine that creating a DIY standing desk using the smartdesk kit is a very great work, well, it is not as great a work as most people envisage, in fact, it is pretty easy, and cheap! At least cheaper than what is available in the market. At this moment, what you need is a guide, to tell you what you need, what you shouldn’t do, and what materials to get. This are few of what this article will let you know, and a little bit more!!
A major reason why a lot of persons go for DIY standing desks is that they might be an outlier to the general principles guiding manufacturers of standing desks, they might have personal challenges, or features that are peculiar to them, this features and challenges makes the general standing desks uncomfortable or unsuitable for the use to which they intend to put it to.
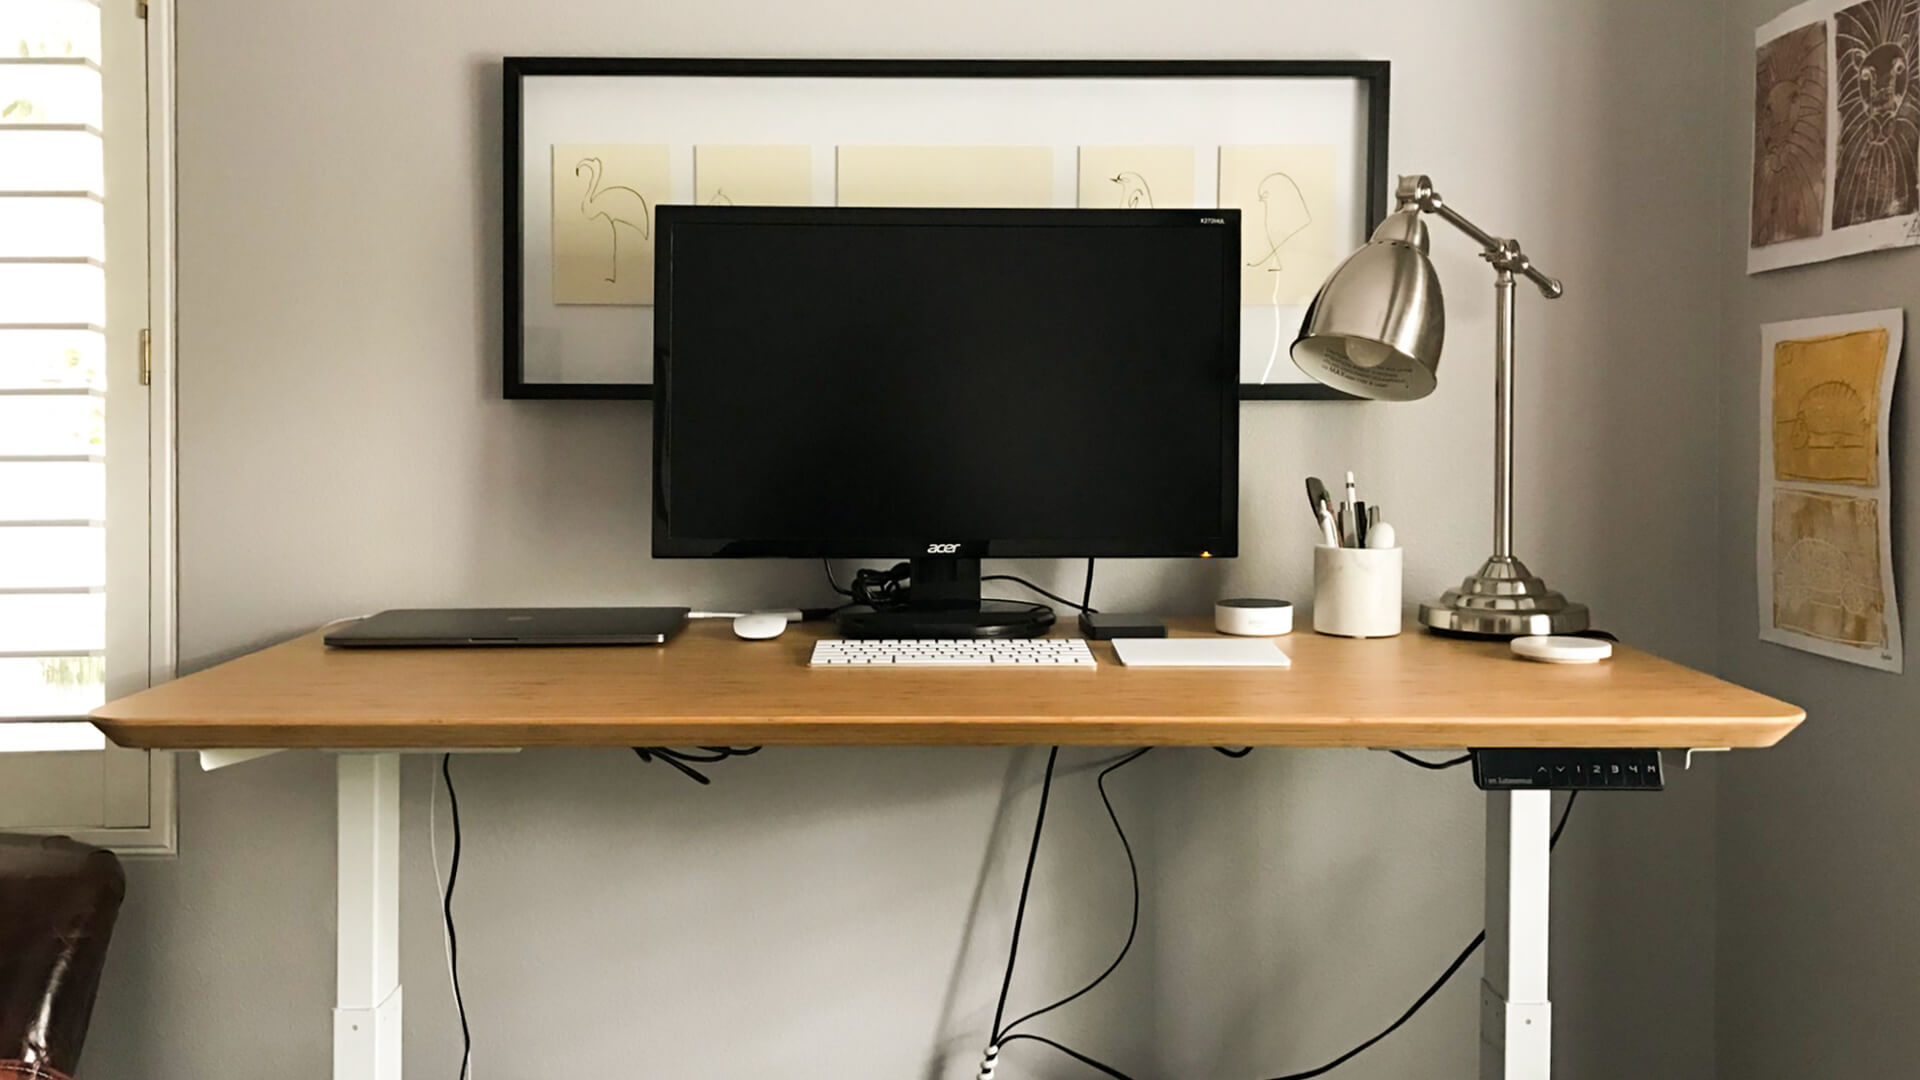
An ideal standing desk should be built to be able to make allowance for a reasonable amount of weight. Also, it should be big and spacious enough to accommodate the things that it is needed for, with additional space.
Most standing desks are produced with a base that is either metal or steel pipes. In order to improve their adjustability in terms of height, they are also usually attached with clamps. A thought that any potential maker of a DIY standing desk should put in mind when selecting a base is that the base needs to be strong and cheap, at least, to some extent.
In order to improve a standing desk’s level of sturdiness and personalization, it is recommended that the top should be attached to an electric base. In this article you will learn the things that you need to know, and put in mind in order to successfully create a DIY standing desk. Some of these things that you need to put in mind includes a step by step process on how to use the SmartDesk kit frame in creating a DIY standing desk, how to select the frame size that best suites the surface you have in mind … however, there are some things that first needs to be considered before setting out for the actual construction. Below are some of them:
The type of surface material
The nature of the material is one of the first things that needs to be considered when using a DIY surface. Gladly, there a several available materials that can be chosen from, the choice of the material will depend on your taste and need.
Wood and plastic seems to be the commonest out of the available materials, this might be due to the fact that they are also among the cheapest. Laminated wood can accommodate and support a higher amount of weight than plastic materials. Also plastic is not usually a suitable choice when it comes to pairing with a SmartDesk frame. So on a personal level, I will not recommend the use of plastic for the surface of your desk.
Hardware for surface attachment
When deciding on the type of SmartDesk kit frame to go for, it should be noted that a lot of the available brands are likely to include hardware to ensure easier mounting of the desk surface.
You need to know though, that these hardwares are designed for specific brands in view. So if you want the desk the desk to come out just the way you want it to, then you will need to determine the length of the hardware, as well as the thickness of the surface.
A mistake that many DIY desk builders often make lies in selecting a hardware that is not compatible with the surface that they intend to use. The recommended surface thickness for must surface is ¾ of an inch. At this level of thickness, most screws will fit without causing any damage whatsoever.
Selecting the frame size
In selecting the right frame size for both the base as well as the surface, it is important that the surface is paired with the frame. The choice depends largely on individual preference. Simply put, what needs to be done is to ascertain that the size of the frame is as wide and as deep as the dimension of the surface. Just to be on the safe side, and avoid avoidable errors, you should ensure that either the surface of the frame overhangs with about 5” on each side of either the frame or the surface.
When the surface of your table is being paired with a frame that is wider, two things needs to be considered: the strength of the table top, and the rigidity of the base. After knowing all of the aforementioned, now, we are good to go into the actual construction of a DIY standing desk with SmartDesk kit frame.
Building your DIY standing desk with smartDesk kit frame
Get the materials and tools you need
The construction of a DIY standing desk is usually not as difficult as generally envisaged, what sometimes make it difficult is the inadequacy of needed materials. In this article, the use of Autonomous SmartDesk frame kit will be employed in explaining the construction process, this will aid easier understanding. And for our desk surface, we will be making use of wood. Now, we are good to go!
Cut your top
Plywood will be used as the top due to its relatively pocket-friendly price as well as the fact that it is easily accessible. As regards the surface of the table, you will need to determine its width, thickness, as well as depth. As earlier mentioned, the thickness of the wood should be about ¾ inch if the frame bar is to fit in. there is no rigid rule governing the length and the width to use.
Still, when considering what length and width to use, a major consideration to put in mind is the number of gadgets that will be placed on the desk. It is advisable that you should think about this and also add more space in order to make allowance for other use to which the table might be put in the future.
As soon as the plywood is sawed, the rough edges should be trimmed with the help of a sandpaper and ensure that the desk surface is as smooth as possible, dust off the wood particles and apply lacquer to finish it up. It is assumed that the frame that will be used is also ready. Once both the surface and the frame is ready, what is left is how to pair them together.
A major worry of DIY standing desk makers at this stage is the lack of pre-drilled holes needed in order to align the frame with the desk surface. An option is to drill holes with drill, but I would not recommend that, chances are, you might drill a hole that will be too deep, thus, resulting in further damage.
The good part is that all DIY SmartDesk kits come with self-tapping wood screws and effortlessly pairs with cordless drill when they are being used. Before the frame is attached to the surface though, it is recommended that you first assemble the frames before you build. This will make it easier for the frame to be attached to the surface. All that needs to be done is to simply flip the frame and the surface upside down. This can also be achieved with the help of a straight wall.
If the same surface measurement will be used by you on both sides, you will need to ascertain that the centre of the frame is in line with the width of the surface. This will ensure the smooth alignment of the frame with surface without the surface spanning down when the leg is bowed.
Lastly, it should be noted that the process of aligning the frame with the surface is a bit tricky job, a wall however, will make it easier to achieve. Instead of pinning it to the ground, you might want to align it by pushing the surface and the frame up the wall. It will be easier to fix the frae to the back edge of the surface by employing the help of a straight wall.
Applying the aforementioned suggestions will definitely make your endeavour a successful one.


 Home Made Pressure Washer Detergent Soap")


