
A mould is a negative of a sculpture, model or relief. It can be used to reproduce the original with all its details. The aim is usually to reproduce the original exactly, i.e. 1:1, with a casting mould. Casting moulds are made of different materials and are used to cast different materials.
What you need for a silicone mould
Before we show you how to make a silicone mould, we will give you a brief overview of the materials used.
- You will need food grade silicone if the mould will come into contact with food.
- Under no circumstances should you use conventional silicone for grouting when making the silicone mould for the kitchen.
- However, you can use it to make a silicone mould that only comes into contact with plaster or metal.
- In addition to a silicone that suits you, you will also need the following materials:
Making a silicone mould – the material
- You need a template with which to make the mould. You can choose this freely.
- For the food-safe silicone mould you need plasticine, a roll-out stick and a plastic cup. This should be open at both ends if possible.
- For the other silicone mould you only need some water and hand soap.
- If you are making a food safe silicone mould, you should also take a lot of time. The silicone sometimes has a curing time of over 24 hours.
If you need to know more about the differen moulding silicons, check out the Silicone Mold tutorial from acrylgiessen.com.
How to make the silicone mould
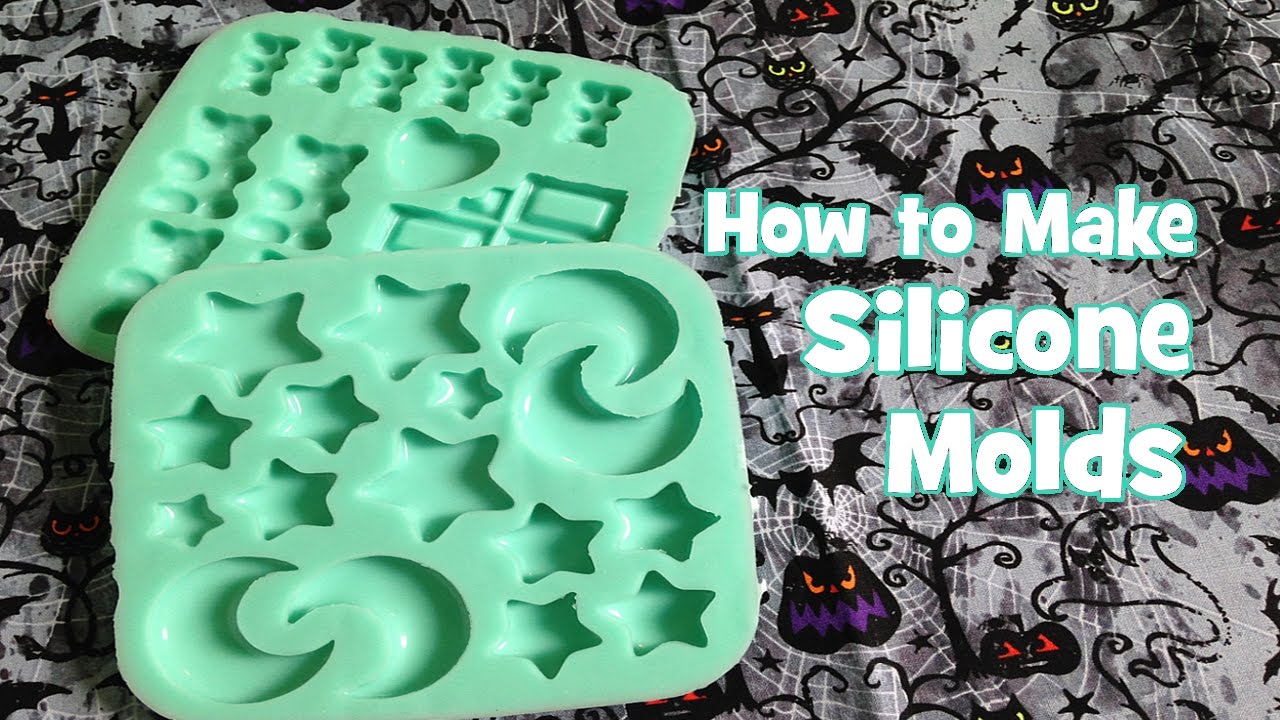
Here we explain how to produce a food safe silicone mould. In our picture gallery we show the exact production of the other silicone mould.
- first roll out the plasticine on your worktop.
- place on it the templates from which you want to make a silicone mould Make sure that the templates are placed with the pattern facing upwards.
- as you pour the silicone on the pattern from above, you should limit the pattern a little. This works with the plastic cups. With these you only have to cut off the bottom and they are open on both sides.
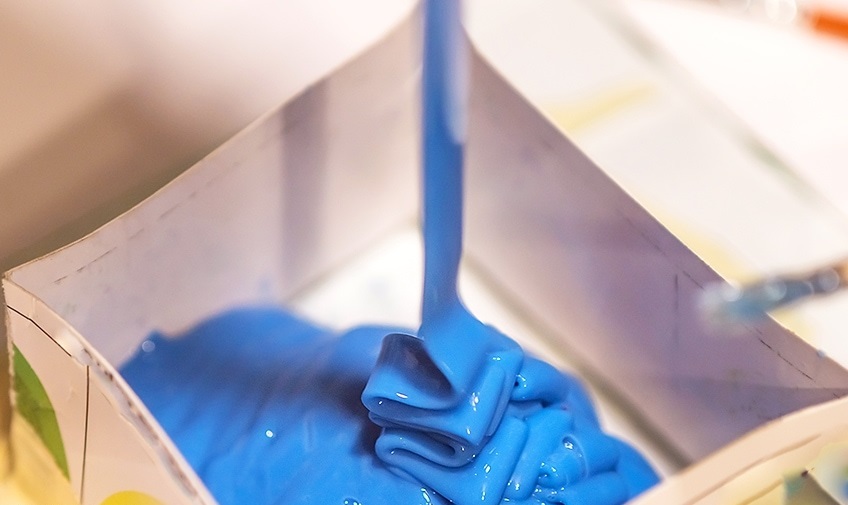
- after you have placed the cup on the plasticine as a boundary and pressed it lightly, mix the silicone in a separate container.
- now you only have to pour the liquid silicone onto the pattern. Take care not to do this too quickly so that no air bubbles are formed.
- the silicone should cover the whole pattern well. It is best if the silicone ends at least 5mm higher.
- when the silicone is dry, turn everything around and remove the plasticine first
- then carefully press the silicone mould out of the cup and then remove the pattern.
- you can also use this method to make larger baking moulds, such as a crate mould.
- you simply place the box form with the opening facing up on the dough and pour the silicone around it.
this way the box form forms the recess that gives the silicone the shape.


